Showing posts with label gift. Show all posts

Monday, July 13, 2015

Sande presents Christmas Fairie by Karen Middleton


Hello eveyone!

Sande is here with you today. 
I have made a Christmas bag in the middle of July. Using this gorgeous image by
  Karen Middleton called "Christmas Fairie".

Isn't she just Fabulous!! 
I have colored her with Copics.

 You can find this Beauty at the Sweet Pea Stamps store 
as a digital and a rubber stamp.  

There is much more fabulous images at Sweet Pea Stamps so don't forget to pop over!
Hope you'll get some inspiration here and create something great!

Don't forget to come back every day and see other DT's outstanding creations!


Friday, May 22, 2015

Nataliya Simpson Presents Zentangle Elephant By Courtney McAnsh

 Good day everyone. Here is another project that i made for Sweet Pea Stamps. This time i decided to play with my heat press and vinyl. This gorgeous Zentangle Elephant image by Courtney McAnsh. As i like everything to be sparkle, i used black glitter vinyl. It was lots of work to weed it out, but i like the way it's turnout .

 And this is how i decorated Shirt on the front.

 Love glitter....


Thanks for looking.
Nataliya

Saturday, May 16, 2015

Angelique Presents Toadstool Head by Ching-Chou Kuik


Good morning everyone.
Hope you are all enjoying your weekend.

 My project for today is the gift I gave my mom for mother's day
I've used the gorgeous image Toadstool Head by Ching-Chou Kuik, this is a rubber stamp and you can find it in shop HERE

I bought an empty wooden basket/box and turned it into decoration for the window shelf

MATERIALS:
wooden basket/box, distress ink/markers, color pencils, white ink, decoration toadstools, decoration blackberries, moss, decoration leaves, wire (the arch) , oasis,  led lights on batteries

Here is a top view:

I had a wonderfull time creatin this and I'm sure I'll make another project like this, but this time, for keeps :)

We have a very nice and friendly group on facebook and we would love to see your make with any of the Sweet Pea Stamps.

I hope you enjoyed my project
See you again next week
Huggsss, Angelique


For more rubber and digi stamps, please visit the shop


Saturday, March 7, 2015

Mitzi Sato-Wiuff's The Sea Turtle Kiss - by Angelique

Good morning everyone,


For today I've made a waterglobe
I've used the rubber stamp The Sea Turtle Kiss by Mitzi Sato-Wiuff and figured
it would be perfect for a glittery waterglobe

I've stamped the image and because I wanted one of the little turtles floatin,  
 I placed the image with the stamped lines against the window (to lazy to search for my embossing light tool thingie) and with a black fineliner I've traced the lines of the little right bottom turtle

After colouring the image, I turned it over the colour that turtle again
Next step, I cut the parts out, placing them in a laminating sheet and run through the hot lamintor.
Left it to cool down and do some choirs

Came back upstairs with an empty verry good cleaned glass jar and started cuttin the parts out again.
This time they were sealed within the plastic.
Placed everything that I wanted in the jar on the inside of the lid.
Attached it all using a hot glue gun


This is what it looks like before it goes in the jar.
Yes you could just use this as a decoration.

However I wanted to show you  what it looks like in a waterglobe, I've filled my jar with propylene glycol and some cheap glitters. You might ask why propylene glycol and not just water?
Propylene glycol is thicker then water, which will make any kind of glitter you place in the jar sink less fast, so if you want to use cheap small beads, you can shake the jar and because of the thickness of the propylene glycol, the beads will "float down", instead of sinking
You could also use glycerin instead, however here (where I live), propylene glycol is used for the cows so it was easier and cheaper for me to get then ordering glycerine :P

Here's what the image looks like when placin in the jar


It's hard to get a proper picture, but you get the idea.
I totaly enjoyed colouring up this adorable image and makin the "waterglobe", 
You can also decorate the side of the lid, maybe cover it in fabric, but I couldn't realy find anything that matched the shells or image.

I hope you enjoyed my project
See you again next week
Huggsss, Angelique


Saturday, February 14, 2015

Amanda Byron's Arielle Love Fairy - by Angelique

Wow the weeks are flyin by, can't believe it's already saturday again.
And it's Valentines saturday.
Happy Valentine everyone, I hope you all have a fabulous day.

Now on to my project, which ofcourse is a Valentines gift
I've used the gorgeous rubber stamp Arielle Love Fairy by Amanda S Byron.
You can find the stamp in the Sweet Pea Stamps shop HERE
She's such a cute fairy and goes perfectly with my altered empty instant decaff glass jar which is filled with chocolate hearts.


MATERIALS: 
Empty jar, gesso, acrylic paint, lace, swirl die, embelishment stickers, leave stamp, flowers, glitters, distress markers/refills, distress ink pad, archival black ink pad, chocolates (to fill the jar)

We have a verry nice and friendly group on facebook and we would love to see your make with any of the Sweet Pea Stamps.


I hope you enjoyed my project
See you again next week
Huggsss, Angelique


Thursday, December 11, 2014

Art Nouveau 2 with Suzi

Good Morning All, Today I'd like to share with you a quick gift idea featuring the gorgeous Art Nouveau 2 image by Karen Middleton;
I discovered this gorgeous image whilst browsing the Sweet Pea Stamps Website recently, I'm amazed at the images i've found whilst browsing since the site changeover; Having a larger picture of them really does make them stand out more, and instant downloads make it so easy to get your image and get creating with it.  I highly recommend taking some time to have a browse, and today is an excellent day to do it as we have a 50% discount code available only till the end of today.

That's all from me for today, if you'd like to see more pictures of my project and more details on how I created it, them please do visit my blog.

Have a great day all
Bye for now
Suzi
xxx

Thursday, October 2, 2014

Shhh Mommies Here by Joanne Schempp

Today I'd like to share with you a wee gift I've made for my Mum, using the adorable 'Shhh Mommies Here' by Joanne Schemmp.

My Mum loves to read, so I thought this Bookmark Tag would make a lovely wee gift for her. I love this image, you can feel that bond of unconditional love between Mother and Child when you look at it, just makes my heart melt.  You can find more details about my project over on my blog.

This is the first of Joanne Schemmp's images I've used, I know it won't be the last, as she had such a lovely variety of image available as both Rubber stamps and Digital Stamps in the Sweet Pea Stamps Store.

That's all from me for today
Bye for now
Suzi
xxx

Saturday, February 23, 2013

A Gift for those with a Dark Side

This is a sampling of the domino set I decorated at my husband's request. I used Teresa Sherman's Skeletal Candle Holder  for the image. They are stamped in Black Staz-On and heat set. It is simple but doing a whole set of dominoes is still a bit time consuming. Sorry my pic is a bit blurry, sometimes I just can't hold the camera steady for anything.


Thursday, August 30, 2012

Interchangable Bottle Cap Necklace

Today I would like to share a gift item that aside from the drying time is fairly quick to make. The kids love this bottle cap necklace and it is a lot of fun to create.


Supplies:
Stamps:
Brigid Ashwood's Phunky Phairies Sheet 2 (Sweet Pea Stamps)
Paper:
White Card Stock (Neenah)
Inks:
Momento Ink Pad, Tuxedo Black (Tsukineko)
Copic Markers (.Too)
     R00
     E02
     YR00
     E25
     E18
     E33
     Y06
     Y11
     Y00
     BG72
     BG11
     G0000
Gel Pens (Sakura)

     Rose Star
     Blue Star
     Marine Star
     Golden Star
     Lime Star
     Copper Star
     Red Star

Other:
Scissors (EK Success)
1" Circle Punch (EK Success)
.125" Ribbon, Purple (Offray)
Satin Cord, 18" length Purple (Unknown)
Bottle Cap (Found Object)
Jump Ring (The Bead Smith)
Nylon Thread (Unknown)
Needle (The Bead Smith)
Zip Dry Paper Glue (Beacon Industries)
Omni Stick (Hammer Head America)
Magnet Sheet (Found Object)
Glitter, Orange (Unknown)
Crystal Lacquer (Sakura)
Directions:
  1. Prepare the bottle cap by sanding off any markings and wash.
  2. Fill the inside of the cap with Crystal Lacquer and cover with glitter, allow to cure for at least 24 hours.
  3. Stamp the images, punch out the faces, color using YR00, R00, E02 for the skin; E18, E25, E33,Y06, Y11, Y00, BG72, BG11, G0000 for the hair; use the gel pens to color the backgrounds.
  4. Apply a layer of Crystal Lacquer to each  and allow to dry at least 24 hours.
  5. Adhere the thin ribbon around the bottle cap ridged edge with Omni Stick, leaving a .25" tail at the top.
  6. Sew the jump ring to the tail with the clear thread.
  7. Run the satin ribbon through the jump ring and knot at the end.
  8. Punch 1" circles from the magnet sheet, if there is a business label attach it may come loose - peel it away, otherwise leave it.
  9. Adhere the stamped images to the magnet circles, making sure that the blank side of the magnet is the side that will attach to the bottle cap.

Thursday, July 5, 2012

Fairy Wall Hanging

Today I would like to share a little wall hanging I made. This image is so adorable - you'll find her in the Lisa Victoria collection.

Fairy Wall Art
Finished Size: 8 x 9.75" 
Supplies:
Stamps:
Bubble Fairy from Lisa Victoria
Inks:
Jet Black StazOnInk Pad (Tsukineko)
Paper:
Heavy cardstock (Unknown)
Other:
Dominoes (Unknown)
Colored Pencils: (Derwent)
     Blue
     Green
     Purple
Foam Mounting Tape (Scotch)
Omni Stick (Hammerhead America)
Foam Board (Unknown)
Blue Mat Board Scrap5 x 7" (Unknown)
Black Mat Board 8 x 9.75" (Unknown)
Heat Gun (Marvy)
2 Soda Can Pull Tops or Table Top Stand (Unknown)
Directions:
  1. Position six dominoes, blank side up, into a rectangular shape on a flat surface.
  2. Stamp the image with StazOn on the domino surface (centered) and allow to dry.
  3. Heat set image with heat gun.
  4. Color the image with pencils using the blue on the flowers, wings and bubbles.
  5. Using the purple pencil, color over the blue areas lightly allowing both colors to mix.
  6. Color the leaves green.
  7. Position the scrap mat board on a flat surface.
  8. Begin adhering the dominoes, starting with the middle piece, to the scrap mat board with the Omni Stick by placing a few drops on the back of each.
  9. Allow the adhesive to dry.
  10. Working with the foam tape, create a strip about 3" long, layering and adhering six additional strips to it, repeat three more times. (This will add dimension to the frame.)
  11. Attach foam tape to the back of the black mat board at a diagonal.
  12.  
  13. Once the matted dominoes have dried, adhere the mat, centering the domino art in the window.
  14. To create a sturdy backing for hanging, cut a piece of foam board slightly smaller than the mat (about 7.75 x 9.5"). 
  15. Cut a piece of heavy card stock the same dimensions of the foam board and adhere to one side. (This will create a finished look to the back of the wall hanging.)
  16. Adhere the bare side of the foam board to the back of the wall hanging and allow the piece to dry.
  17. If desired, attach to pull tops from aluminum cans to the back of the wall art for hangers, otherwise a small table top stand can be used for displaying.

Friday, December 3, 2010

Steampunk Doll/ Christmas gifts


How is everyone today? This has been one busy Thanksgiving holiday for me. I took these images with me to my Mom's for Thanksgiving and worked on this after dinner. I made 2 journal books for a friend that requested them as Christmas gifts for her family. I made her 3 recipe books last year that some of you may remember if you followed my blog last year HERE.
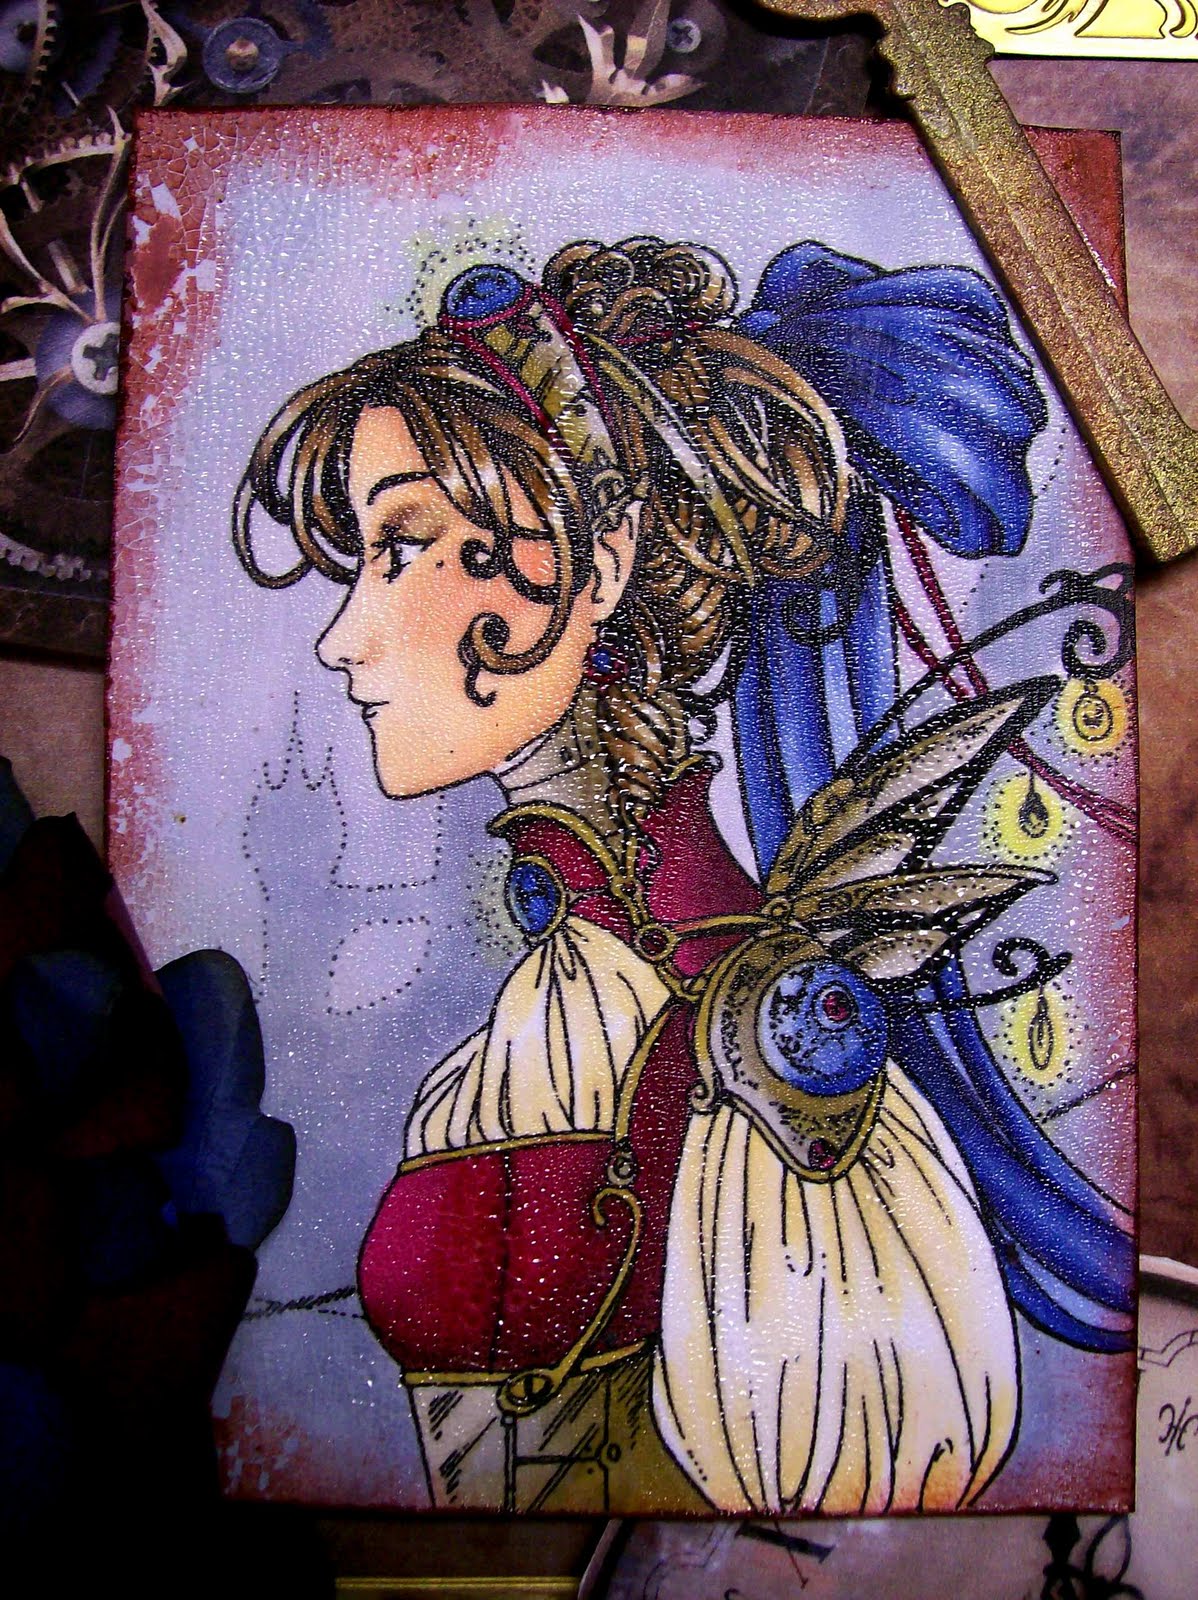
I used one of the new Sweet Pea Images by artist Meredith Dillman called Steampunk Doll ( Sheet #2/ Plate #87) and she comes with another gorgeous image that I used on this Steampunk card HERE earlier.


I used some digital Steampunk paper from Creative Victorian Designs. The photo gears are also from Creative Victorian Designs. They are made for Digital Scrapbooking, but I printed them out on white CS and cut them out to use as embellishments on my journal books. I also used some Tim Holtz Grungeboard that I inked up to look like old and vintage.


I also covered all the images with Ranger Crackle Paint in Clear Rock Candy to give them even more vintage look and feel.

Here is the second on I made. I added some gold metal border strips and used my Tim Holtz Tattered Flowers Alterations die by Sizzix.


Here you can see all the tiny cracks in the clear paint.


And here is my last creation using the same image. I created this card for one of my good friends for her birthday. She fell in love this image as soon as she saw it.


Not only did I cover the image in Clear Crackle paint, I also covered the DP in it too.

Here you can see the clear crackle paint even better.


I hope you like them as this is one of my favorite Sweet Pea images right now.

Tuesday, November 30, 2010

Starry Ornament

Today I would like to share a Christmas Ornament featuring Elaine Cox's Starry Garden Fairy. It was made with a red plastic star shaped cookie cutter.


I embellished the outer edge with ribbon and using the Crop-a-Dile cut a hole in the top for a hanger.


Tracing the cookie cutter, along the flat surface edge, on Bo Bunny's Holiday Magic Ornaments paper, I cut the shape out and glued it to the flat edge with the print side facing the inside of the cutter.

Stamp your image and color with copics. Add some sparkle with Sakura glitter pens and punch out in a 2" circle. Mat it on a 2.25" circle, using the solid side of the Bo Bunny paper using dimensional glue dots. Punch a hole in the top of the circle and run a piece of gold string through it, knotting at the top.

Cut a star shape from some red card stock and adhere to the back of the circle. Thread the gold string through the hole hanger hole of the cookie cutter, knotting and then tie off about 4" from the cookie cutter.

Monday, September 6, 2010

Sweet Pendant


I have a fun project to share with you today. I made a pendant with one of the tiny Sweet Pea images. When I first saw those tiny little stamps on the sheet I had no clue what on earth I could do with them. I had these glass slides and metal holders in my stash and thought it would be really fun to make a pendant. I am so pleased with how it turned out! I admit I did have to get out those extra strong glasses so I could color the tiny image hehe. Ah the joys of growing older! Anyway...it was super fun and would make a great gift for any special lady!

Supplies used on this project:
Image-mini Sweet Pea Stamp from sheet 14/plate43 (sold only as a full sheet)
Papers-Neenah white card stock
Copics-
Skintones-yr0000, e000, e51
Hair-y21, e53, y26
Flowers-r81, r83, r85
Blue background-b00, b01
Gray background-w1, w3, w5
Misc-black Sakura glaze pen, black sticky gems, 2 inch glass slides(two) and a metal holder -Inkssentials, black fibers/ribbon

Lisa

Thursday, July 29, 2010

Angel Domino Ornament

I have been trying to create little gems to hang on the tree rather than having all commercial ornaments. This is one of the things I have come up with. It uses the small angel image from Plate 17.


To work with a domino I suggest sanding it down, removing the shininess. I then added a touch of gold by smearing a Brillance Gold ink pad on the surface and allowing it dry. Next I stamped the angel image with black StazOn. Once it was dry, I colored some of the areas in with a gold colored pencil. Then I  placed a small square piece of paper over the stamped angel image to protect it. I then stamped the Corinthians passage on the exposed areas.

After all the stamping had dried, I sealed the front with Judikins Diamond Glaze and allowed to dry for a couple days. I run a piece of piece of Terrifically Tacky Tape around the edges and dipped it into some dark green ultra thick EP, heated that up and added a bead to the top with Amazing Goop.

Too early to think about Christmas?? Never, I am already halfway finished with my shopping! ttfn.

Thursday, June 3, 2010

Altered CD Calendar

I have had the idea of creating a calendar with the little tear off months forming in the back of my mind for a while now. This is the first attempt, there are some wrinkles to iron out but it turned out pretty cute.


To make it stamp and color the dragon (I used copics) and then trim it out. Cut out a mat and glue it onto a CD. Tear a piece of coordinated paper about 1.5" x 3" and adhere it from the left edge of the cd in the center - the right side of the paper will fall about 1/3 of the way from the right edge of the disc. Using a Lavendar colored distress ink pad I inked the edges of the disc and swiped it across the paper a few times.

Adhere the dragon to the right side of the disc with it's wings extended over the edge a bit. For the calendar I did a quick search online for a printable one, what I used wasn't that great but it works. Print it out on a solid coordinating color and cut out the months. Cut mats from a darker paper that about about .25" wider and .5" taller than the calendar pages and adhere each one. Use a piece of double sided tape along the upper edge of each page to attach them all and stick to the base.

I used Prima flowers to embellish along with Rock Candy Stickles from Ranger and some rhinestones. The hanger is a fancy paper clip from Making Memories, I just bent the plain part of the clip out so it can rest on a wall hanger.

I am thinking of creating a few of these as part of a teacher's gift set for the upcoming school year. Well I hope you enjoy it!

Monday, February 22, 2010

February Project of the Month: Memory Bracelet

The project for this month is a memory bracelet. It is super easy and fun to make with just a few supplies.


Gumdrop Gang Easter Plate
Memento Tuxedo Black Ink Pad
Copic Markers
Neenah Solar White Card Stock
Chipboard (like a shirt liner works well)
Mod Podge
Diamond Glaze
Small Photos if desired
Printed Paper
Charm Bracelet or Asst Jump Rings to make a bracelet
Clasp
Hole Punch
1" Circle Punch
Pliers
Scissors
Piece of Wax or Freezer Paper

Stamp the images on the card stock and color.
Attach the stamped images and photos to the chip board with Mod Podge and allow to dry.
Attach a piece of decorative paper to the back of the chip board with Mod Podge and allow to dry.


Neatly trim the images out with scissors or punch.
Punch a hole at the center top of each charm.


Working on the wax/freezer paper, apply a thin layer of Diamond Glaze and allow to dry.
Flip charms over and apply a layer of Diamond Glaze to the backs and edges of the charms to seal and allow to dry.
If necessary use a large paper clip to push any Diamond Glaze out of the charm holes.
Make bracelet chain if needed.
Attach the charms to the chain randomly using jump rings.


Enjoy sharing!

Sunday, November 15, 2009

It's a 6-pack birthday party!!!!


I was rummaging through my craft area and found 2 of these 6-pack cartons that I had bought at a craft rummage a couple of months ago. An idea popped into my head and I was off and running. One of our granddaughter's has a birthday coming in November and this looked like a good way to 'package' her birthday gifts.


Alcohol ink seemed the best way to color this carton because the texture was somewhat glossy to the touch. After a few experiments with various colors of ink, I decided on these 4 (purple twilight, stonewash, pool, and silver). I used a felt applicator and blending solution to apply the inks to the surface.


I laid out my newspapers for this messy job and got to work applying the alcohol inks. In no time I was finished. It was easy since this carton folds pretty flat.


Here is a picture of the 6-pack carton after I finished applying the alcohol inks. Lizzy loves purple so this should be the perfect to hold her birthday gifts. Actually, I like purple too!!


I pulled out some Grungeboard letters and a couple of chipboard swirls, painted them with silver acrylic paint, and attached them with double sided tape to the side of the carton. I got out my fabric flower petals and Aileen's color mist sprays and kept spritzing on colors until I saw the colors I thought would look good. I attached one set of petals to this side of the carton with a rhinestone brad, and saved the other set of petals for the other side of the carton. I have some decorative ribbon, actually they are slightly padded fabric silver stars, and I attached to the bottom of the carton with glue dots.

I happened to have this purple embellishment in my stash, so I attached it to the side of the carton with some glue dots.


On this side of the 6-pack I stamped images and phrases from Sweet Pea stamps. The two 'ladies' are from plate #7, and the Birthday sentiments are from plate #9. I used permanent markers to color in the images so that they would show up more easily on the slightly dark-colored background. I attached the second grunge swirl to the right of the handle, the puffy silver stars to the bottom, and another couple of fabric flowers to the right of the stamped images.

Ready to go!!! I wrapped various items with colored tissue and dropped them into the 6 slots of the 6-pack. Lizzy likes some of the shower gels and body creams available at Bath and Body Works; and they fit perfectly into this package. I think Lizzy will like it. I'm thrilled with how it turned out.
I have one more of these blank 6 packs left. Hmmm, what shall I do with that one??
Keep on stamping.... Chrissy