Showing posts with label Olivia. Show all posts

Thursday, August 28, 2014

Featured Artist Week: Olivia's View

Hello Everyone,

I am checking in today with a new card I did with one of the beautiful images from Ching Chou Kuik's called The Moth.  The sentiment comes with the rubber stamp set and love it so much as well.

I colored the image with my Copics. I used my Copics to make the background as well on the image and added some Liquid Pearl. The vine background was created with a stamp and used two different ink colors.


Sunday, July 13, 2014

Variation Week: Olivia's View

Hello Everyone. This week we are showcasing one of the newest artist to join us at Sweet Pea Stamps-Heather Valentin.  This week we all used the image Molly What a Catch.


These images are only available as rubber stamps but we have a fabulous selection to choose from. So be sure to stop by and check out all the fabulous images she has available.


Monday, June 23, 2014

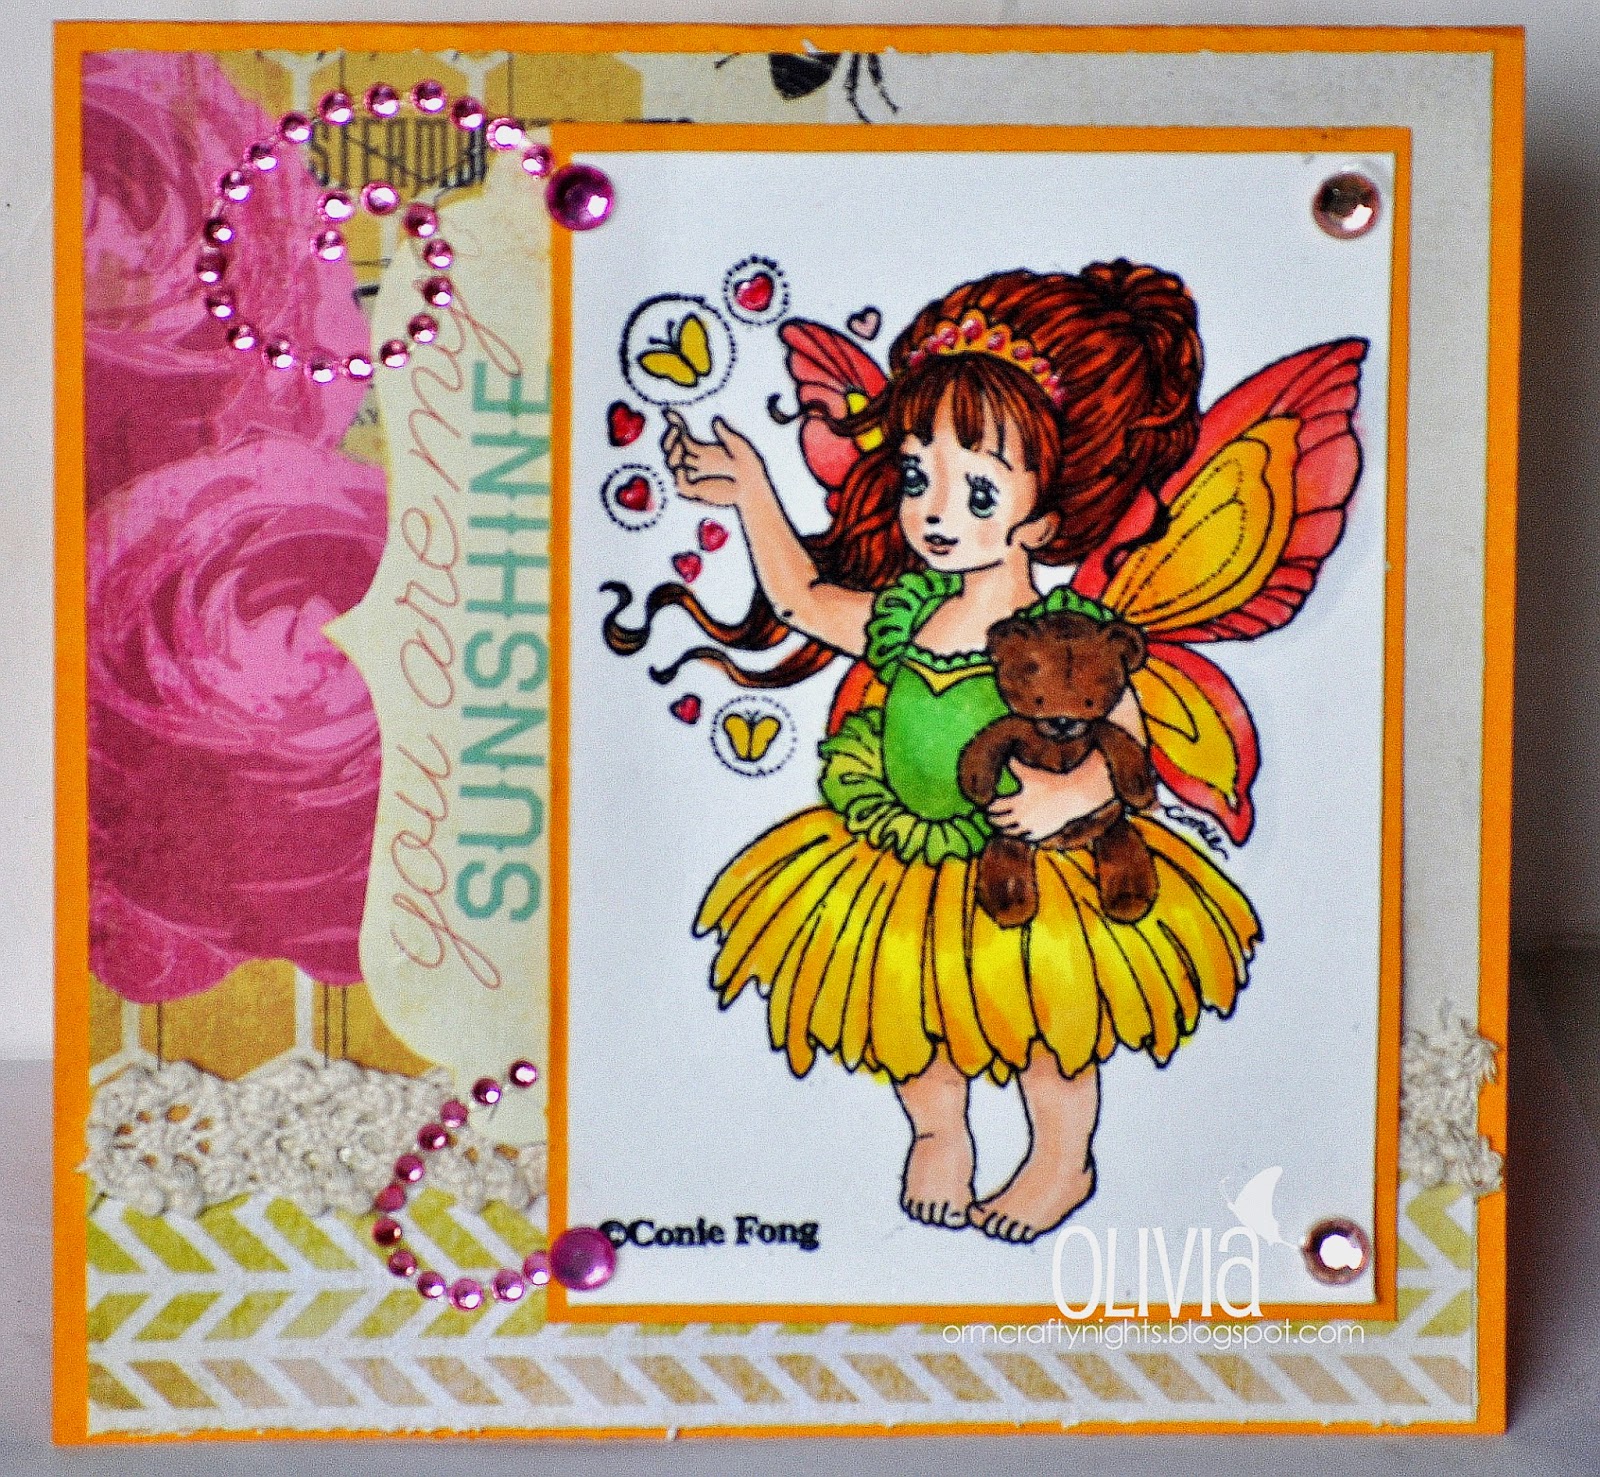
Featured Artist Week with Olivia

Hello Everyone-Olivia here with my Featured Artist card with a Conie Fong image. I used

I colored the image with my Copics and used paper from my MME stash as well as some bling. This lovely image is available in digi or rubber.


Monday, June 16, 2014

Scarlett Holly - Ching Chou Kuik - Jane's creation

Sweet Pea Stamps

Hello folks, here I am again with another creation for  Sweet Pea Stamps.  Today I am sharing with you a Christmas card made using the digi Scarlett Holly by Ching Chou Kuik.  I am trying to get all my Christmas cards done before I return to the UK in June so I can take them with me and leave them with my daughter so she can forward them on at the appropriate time :) :) Last year I got caught out, DHL wanted 50 pounds to send a card from Saudi, where I am, to the UK.  Alas it was for my lovely sister but I refused to pay and the local post is not that reliable so needless to say she did not get a real card, only a photo of it via e-mail.

Anyway, back to today and here is the card.


To make the card I had planned on using my die cutter for the top lacy section but the card I wanted to use is not very tight and after two attempts I gave up and tried an experiment instead.  Using the largest circle from Spellbinders Scalloped Grand Circles I positioned the die to cut just the top off the card.
Next I used a couple of bits of dies, a holly leaf from Lea'bilities Wreath For All Seasons and another leaf from Marianne Design Craftables Flower to create the cut out lacy top.
Next I coloured the digi with Promarkers
Promarkers used
To finish off I used some Ice Stickles on the leaves for a bit of bling and a touch in the eyes too.
While that was drying it was back to the card base.  I used a rectangle of Papermania Christmas vellum and finished off with some red and green organza.
 Using Gold stamping ink I sponged the top area lightly on both the card front and the top of the inside of the card.
Time to play with a new toy.  This week my mini Bowdabra arrived and what a joy to make bows with.  If you are not a great bow maker it is worth trying this piece of equipment.  To finish off I used some gold leaves a friend gave me from a box of chocolates (she ate the chocolates first!!!!!) and then used a couple of the holly leaves cut out from the top of the card and some wee red beads.
Time to put everything together.  I did add the rest of the holly leaves to the card, 4 on the digi and 2 on the inside of the card, it seemed a shame to waste them.


Thank you for stopping by :)
Ingredients
  • Digi 'Scarlett Holly' by Ching Chou Kuik available from Sweet Pea Stamps
  • Dies -  Spellbinders Grand Scallop Circles, Lea'bilities Wreath For All Seasons and  Marianne Design Craftables Flower
  • Promarkers
  • Papermania vellum
  • Ribbon, beads, peel off stickers and gold leaves from my stash
Hope you have a wonderful day ahead of you :) :) 

Tuesday, April 29, 2014

Ching Chou Phone Case

Hey Everyone. It is Olivia here. Super excited to showcase a 3D project I did for Sweet Pea Stamps.  This is my own personalized phone case I made for myself using Ching Chou fantastic image-Dark Lilies. This image can be found in rubber or in digi.


I have spring on my mind and thought a bright and sparkly case would be perfect to just welcome it in and celebrate the season.

Here is how I did it. First if colored my image on a separate paper.  I then used a clear blank phone case (I order my online from Ebay since I love to make these). My first step was to paint it with acrylic paint and then let it dry. Once dry I used Mod Podge to add the sparkle.  Once that layer is dry, I applied the image via Mod Podge. It takes about 2-3 coats to make sure it is adhered good and you need to wait between each layer (about 10-15 minutes between layers).  Then I added another layer of sparkle on it. 

My final step was the embellish around it with various gemstones and rhinestones I have in my stash. I just go crazy here and add them were I feel like it. I used E600 glue to add the pearls and rhinestones.

So there you have it! A fantastic personalized case that is one of a kind and with these gorgeous images can be suited to your taste and style.