Showing posts with label Brigid Ashwood. Show all posts

Sunday, January 5, 2014

Kym's Weekly Post - Sunday 5/1/14

 On the 1 January 2014 it was the start of another month over at the One Sweet Challenge.
The topic this month is "black and white - grey is acceptable".
Here is my card I made to promote this challenge.
For my card I have used the Brigid Ashwood image called "Steam Bee" which is available as a rubber stamp.  I thought this card would "bee" a suitable for a man's card.  I have coloured the image in with various shades of dark grey Promarkers.  Around the image I stamped with a little dotty peg stamp and a white Versamagic ink.  Then once that was dry I inked around the image with Tim Holtz's Pumice Stone and Black Soot distress inks.

The backing papers are from my Perfect Papercrafting Companions CD and I have used a black-and-white pinstripe and a black-and-white dotty paper.  I have finished the card off with some tartan ribbon, x-cut die-cut cogs, black brads (yes no matter how many pictures I took these brads are black) and a sentiment off the CD.

It would be lovely if you could enter the One Sweet Challenge.  You don't have to use a Sweet Pea Stamps image but we love to see them "bee-ing" used!!!
**********************************
Here is another card to show you.
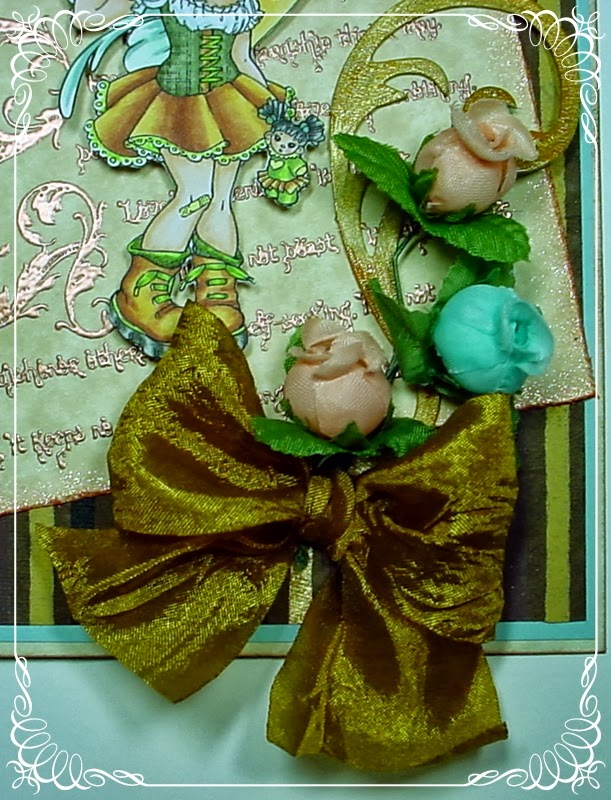
 For my card I have used the Sweet Pea Stamps image by Ching-Chou Kuik called "Poinsettia Fairy".  She was one of my first Sweet Pea Stamps and she is still one of my favourites.  She is available as a digital stamp or as a single rubber stamp
 I have coloured the image in with my Graph'it pens.  The card has been finished off with some poinsettias, gems, washi tape and a sentiment from my Perfect Companions Christmas CD.

Saturday, October 26, 2013

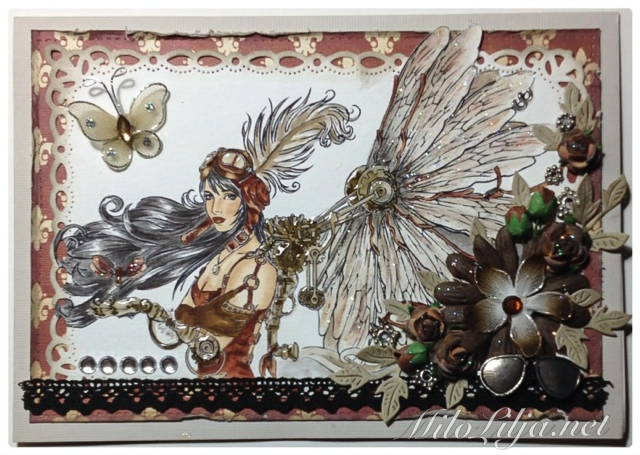
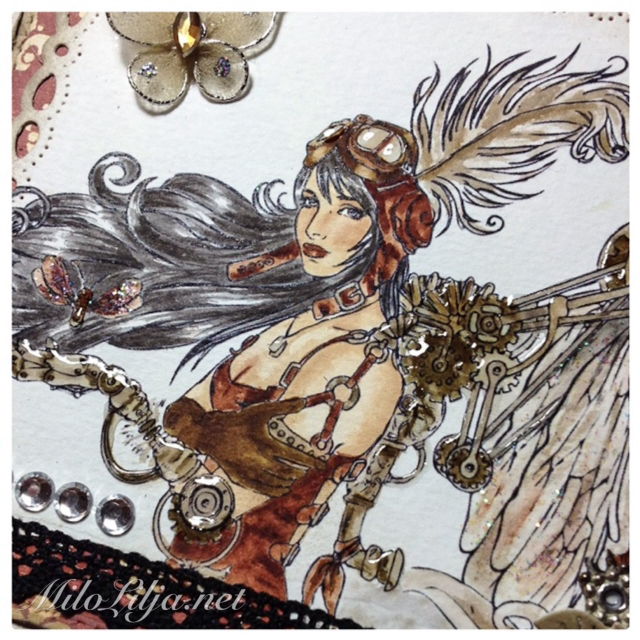
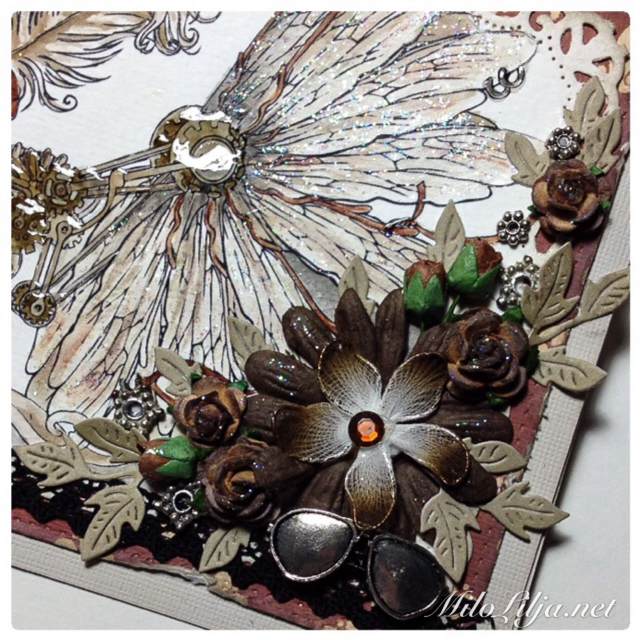
Featured Artist Week Brigid Ashwood by Milo


I have used the stunning rubberstamp from Brigid Ashwood named Firefly for the featured artist week.
Hugs Milo


Friday, October 25, 2013

Featured Artist Week: Brigid Ashwood by Shanna

Yay I am so excited this week is here. Artist of the week is still pretty new and I love seeing what each of the designers pick for their choice of images. Variations week is fun too sharing each designers talents for taking the same image and making into to something completely different.

So this week our Artist we will all be sharing is Brigid Ashwood. Her stamps are all available in rubber only. She has such a unique style especially with her steampunk creations. She also creates fun fairies. 

So for my image I chose Firefly! I love this image. Something so fun and challenging about it but I took on the fun of coloring her with my copics. Next time I need to try pencils once I get better are pencils. I think even watercoloring would be a perfect fit.


Thanks so much for stopping by Sweet Pea Stamps. Make sure you come back daily for more inspiration!

Featured Artist Week: Brigid Ashwood by Holley

 Here's an adorable stamp from Sweet Pea artist Brigid Ashwood. She has a whole line of fun Rubber Stamps at the Sweet Pea store, this girl is called Jinx.  I thought this cute little outfit, with her skull and crossbones tattoo would go well on this gorgeous paper that has an adorable skull pattern on it.  I added some great combo of orange, red and yellow embellishments and one of the newest die cuts from Spellbinders.
here's a close up of the image itself, be sure and check out all the other Sweet Pea design team works this week, as this artist will be featured all week long.


Check out all of this artists images at Sweet Pea stamps here.

Thursday, October 24, 2013

Featured Artist Week: Brigid Ashwood by Kym

It is "Artist of the Week" time over at Sweet Pea Stamps.  This is when an artist is showcased on the Sweet Pea Stamps Blog for a week by members of the Design Team.  The "Artist of the Week" for October 2013 is the ever so talented Brigid Ashwood.
Brigid Ashwood's images are available only as rubber stamps at Sweet Pea Stamps.  For my card I have used the image called "Darja".  I have coloured the image in with my Promarkers/Flexmarkers.  I have inked around the image with my Tim Holtz Victorian Velvet and Tumbled Glass distress inks and added some pearl dots.  

For my card I have used a new CD called "Perfect Papercrafting Companions" by Creative Crafting World.  I have used a plain pink/spotty pink and a plain blue/gingham blue to match the image.  I have finished the card off with some die-cuts, doily, raffia ribbon, Craftwork Cards die-cut sentiment and Card Candi.

Wednesday, October 23, 2013

Featured Artist Week-Brigid Ashwood by Danni

It's time at Sweet Pea Stamps for the Artist of the Week! This time around we have Brigid Ashwood and her Phunky Pharies! Be sure to check out the Sweet Pea Stamps Design Team blog each day to see the fab stamps from this amazing artist!

For my card I chose Pinkie! She can be found as a single rubber stamp or on Sheet 1-Plate #74. I colored the stamp with copics and then kept the design simple so she could really stand out!


Enjoy your day!!


Tuesday, October 22, 2013

Featured Artist Week: Brigid Ashwood by Ali

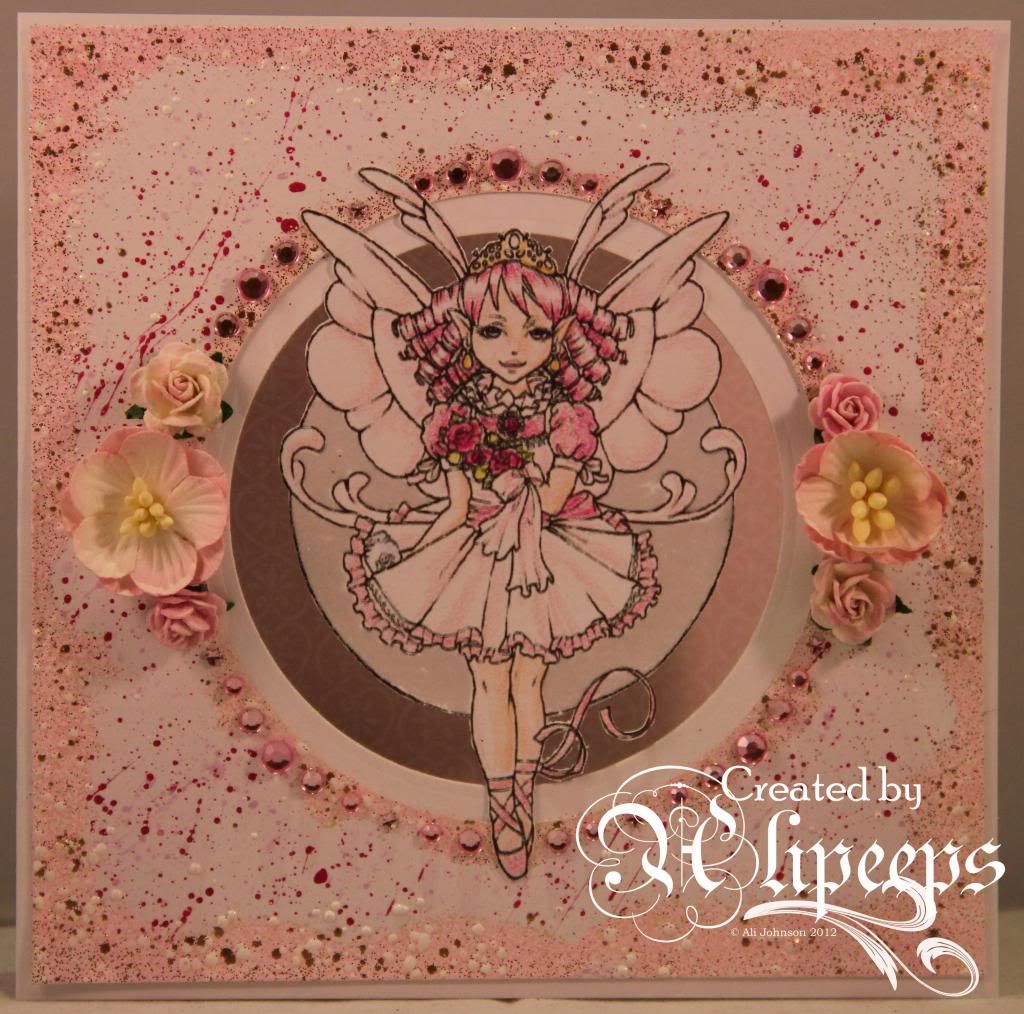
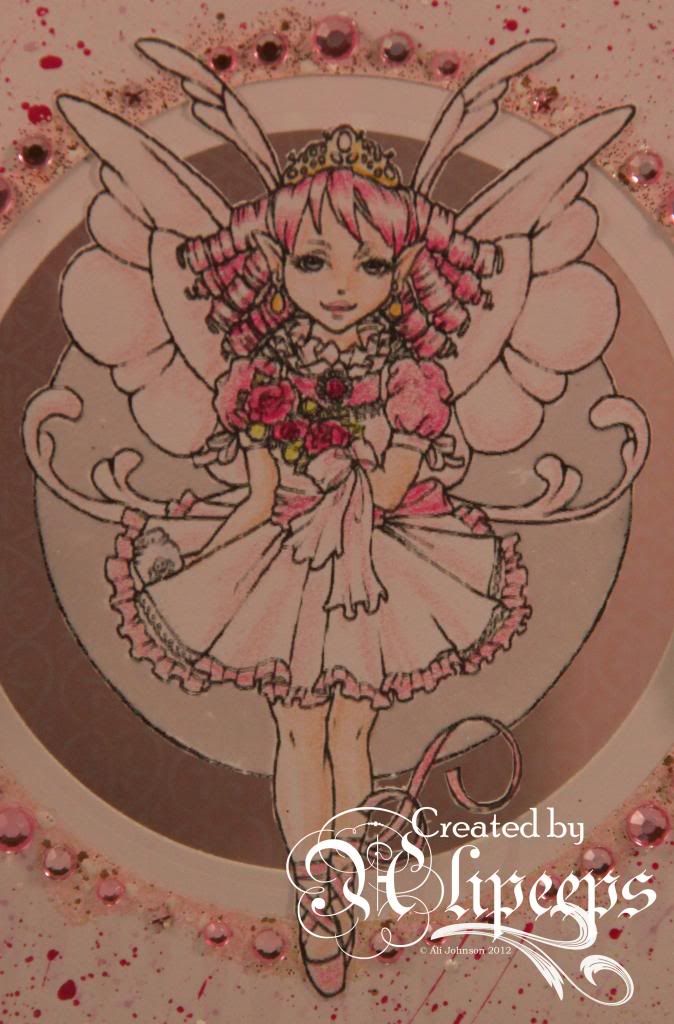
This week here at Sweet Pea Stamps the Design Team are featuring the artwork of Brigid Ashwood. We are each working with her gorgeous stamp designs and I chose to create with this great stamp called Margox:
I love Brigid's Phunky Phairies range of stamps and I have a few of them. They are great to colour in and the characters have a funky attitude to them that I love. I coloured Margox with my Prismacolour pencils.
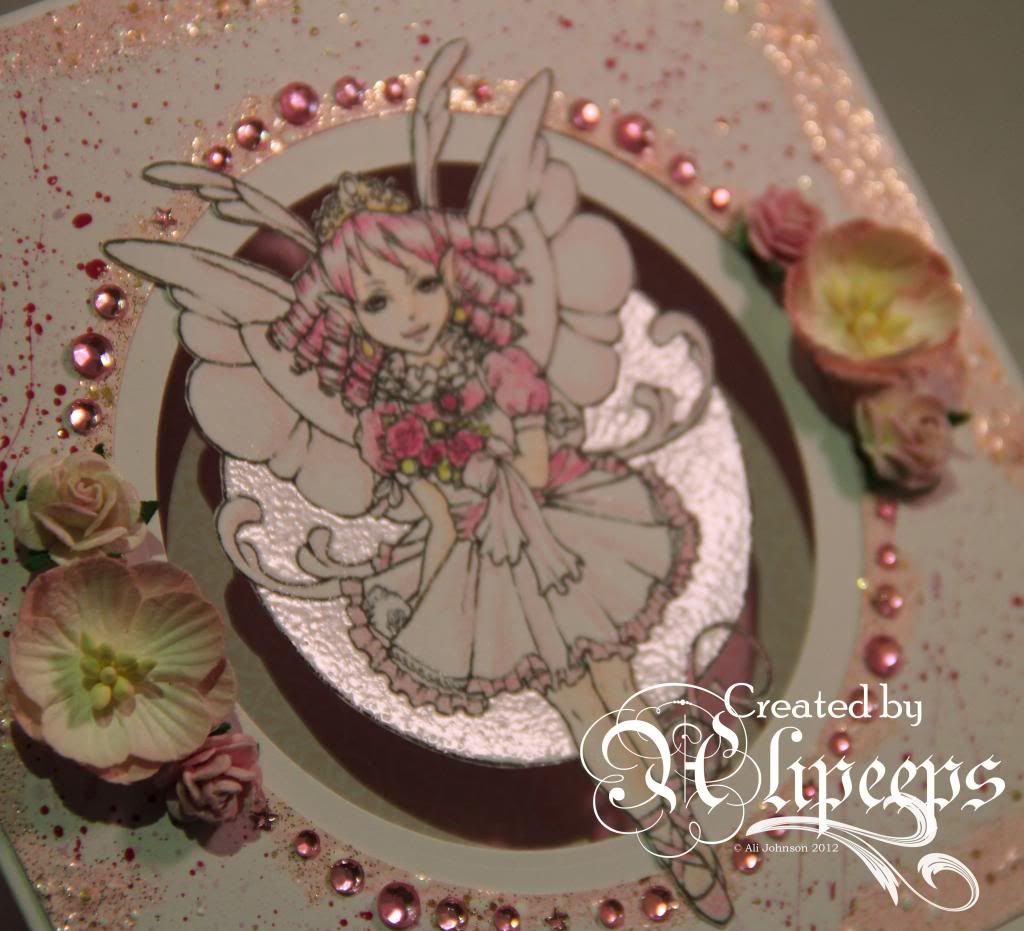
I also added some interest to the image by using a Versmarker pen and Silver Pearl embossing powder to heat emboss the background section of the image. This powder gives a lovely sheen when the light hits it:
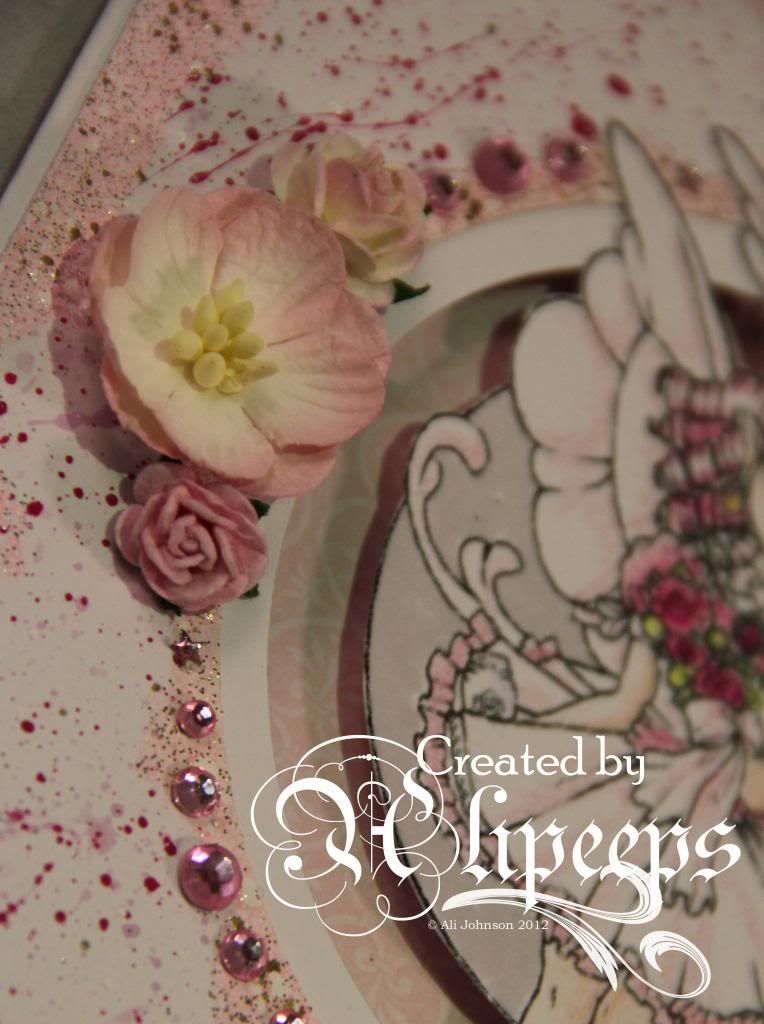
The design for my card was inspired by the circular background section of the image... I had the idea to layer the image over a circular aperture in my card. I decorated the inside of the card with pale pink paper that would show through the aperture... here's how it looks with the card fully opened:
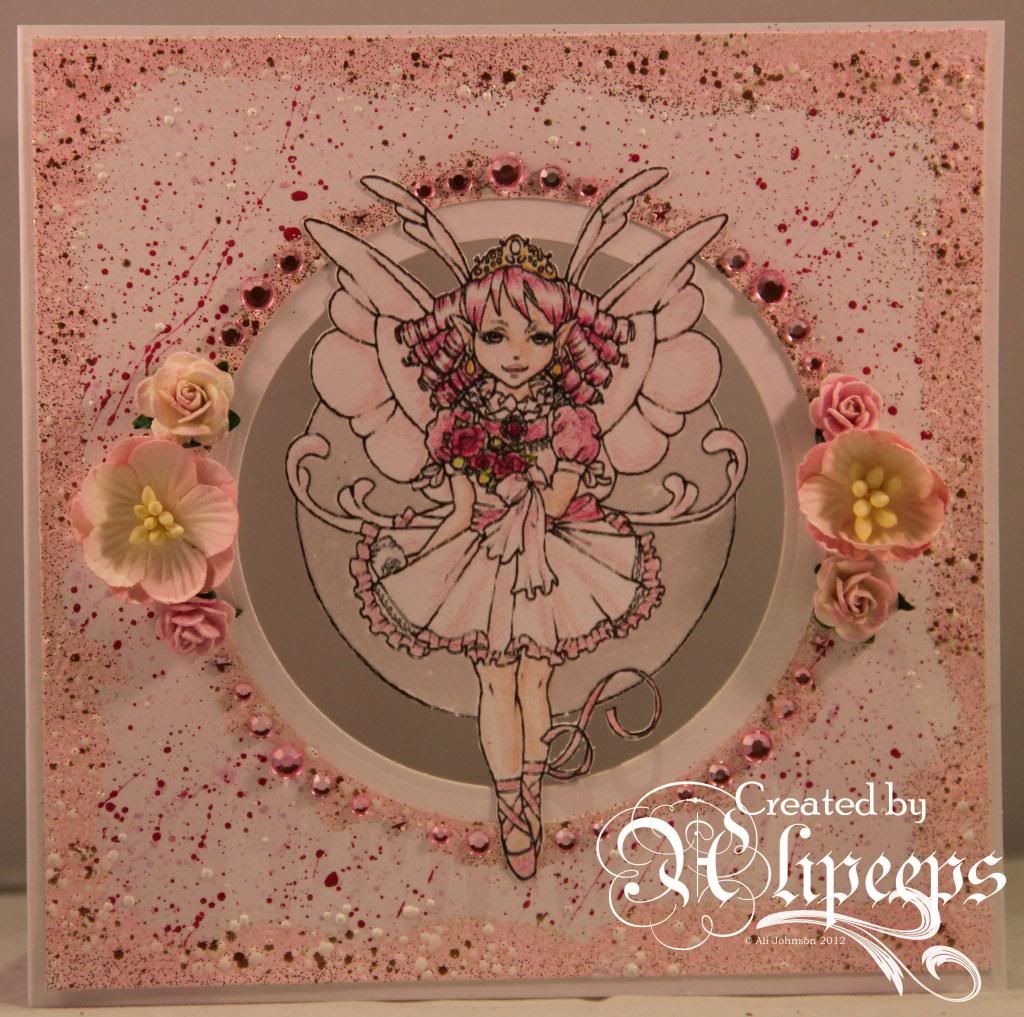
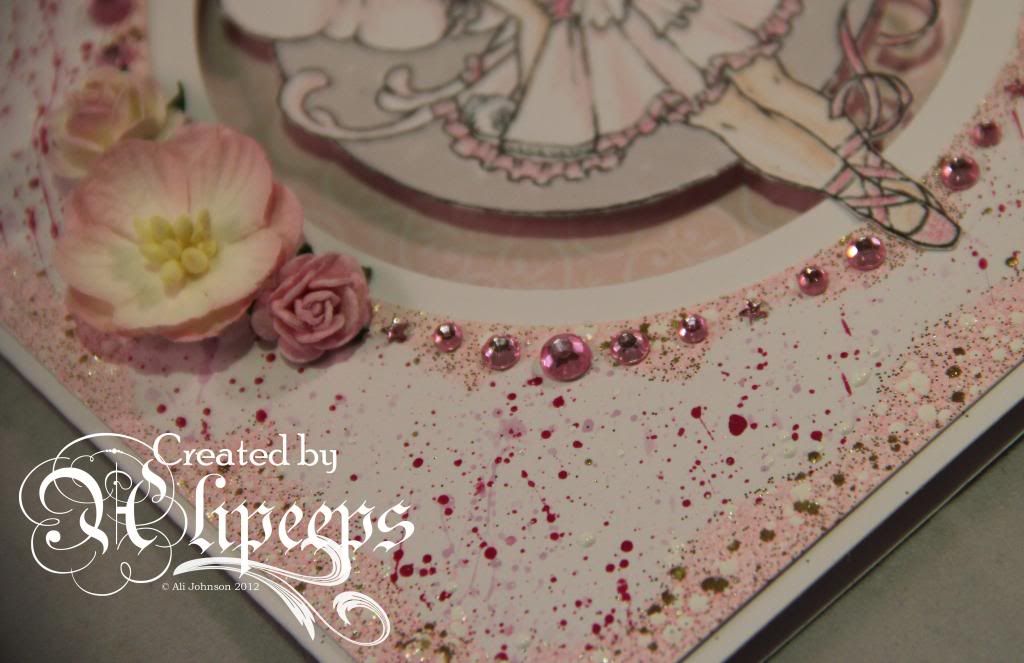
I used nesting dies to cut the circular aperture in my card front and in a layer of white card which I had trimmed to fit the card front. I decorated the white card layer by flicking paint across it and then heat embossing the edges with Shabby Pink Frantage embossing powder.
To finish off, I attached my cut-out image over the aperture and added some flowers and a gemstone border around the aperture:
Brigid's stamps are available in red rubber from the Sweet Pea Stamps store and for this week only are on special offer. :)

Featured Artist Week: Brigid Ashwood by Nataliya

 Good day everyone. today we have Artist Of the Week, at Sweet Pea Stamps Brigit Ashwood. And i chose to work with her super cute image call "Pinkie" and you can find her HERE.
Here is my card.

 I colored image with Copic Markers and cut it out with my favorite trusty scissors from SU.

 Here is some of my embellishments.


 Embossed background and rose in Heart was stamped distressed . Rose i colored with distress ink, by using sponge. this stamps you can find at Heartfelt Creations.

Thanks for looking.
Hugs Nataliya

Monday, October 21, 2013

Featured Artist Week: Brigid Ashwood by Sylvia

It's time for artist of the week.
And this time it's Brigid Ashwood's art.
I have chosen "Remy". 
The art is only availble as a rubber stamp
witch you can buy at

I think "Remy" went to Jamaica!
"Ya Man!"
I had so much fun coloring him.
All the little details, like this cute little bear in his bag
and the tattoos. Just gorgeous!
I have colored with my distresspads and markers.
And ofcourse I had to add some sparkles on Remy.
Sorry Remy, but after all, you're a Fairy! 

The background paper I have made of a piece of
aquarelpaper and distresspads and water.
After it was dry, I embossed it.

To give it a something masculine, I added a 
wooden button with a raffia rope through it.
On the left side of the image I added a die from Memorybox
( I think ).
Check out the other projects from our lovely 
DT members.
Sylvia
xxx

Sunday, October 20, 2013

Featured Artist Week: Brigid Ashwood by Aletha

I hope that your week is going good! Mine has been going pretty good, along with time in my studio, so I really can't complain.

This is Artist of the Week here at Sweet Pea Stamps. Our artist this week is Brigid Ashwood and Her Phunky Phairies. She has some of the most interesting images to work with. I don’t think that I have a favorite, but I did choose Repose. I love Steampunk and when I get to practice making Steampunk, I jump at the chance. You can find Repose and other Phunky Phaires by Ms. Ashwood in the SPS shop. This particular rubber stamp is found on Plate#104.


Repose needed to be a little melancholy, so the colors I went for were rust and mauve grays. My dies cuts were a lot of fun to add also. I wanted them to pop out, but behind this beautiful image. I used some copper wax rub-on, let that dry, and then buffed the copper with a paper towel. Now they look a little more metallic. All the details will be on my blog on Wednesday, AJ’s Designs.


We have a fun challenge over at One Sweet Challenge. The theme is “things that go bump in the night.” If you do enter, and use a Sweet Pea image, please come by our SPS Facebook group and share your little piece of art. There’s a lot happening at Sweet Pea Stamps. Stay up-to-date on them all by “liking” our SPS Facebook page.

Thanks for stopping by. Be sure and stop by every day for more Sweet Pea inspiration.
Aletha Jane
SPS Design Team

Sunday, May 19, 2013

Kraft and White

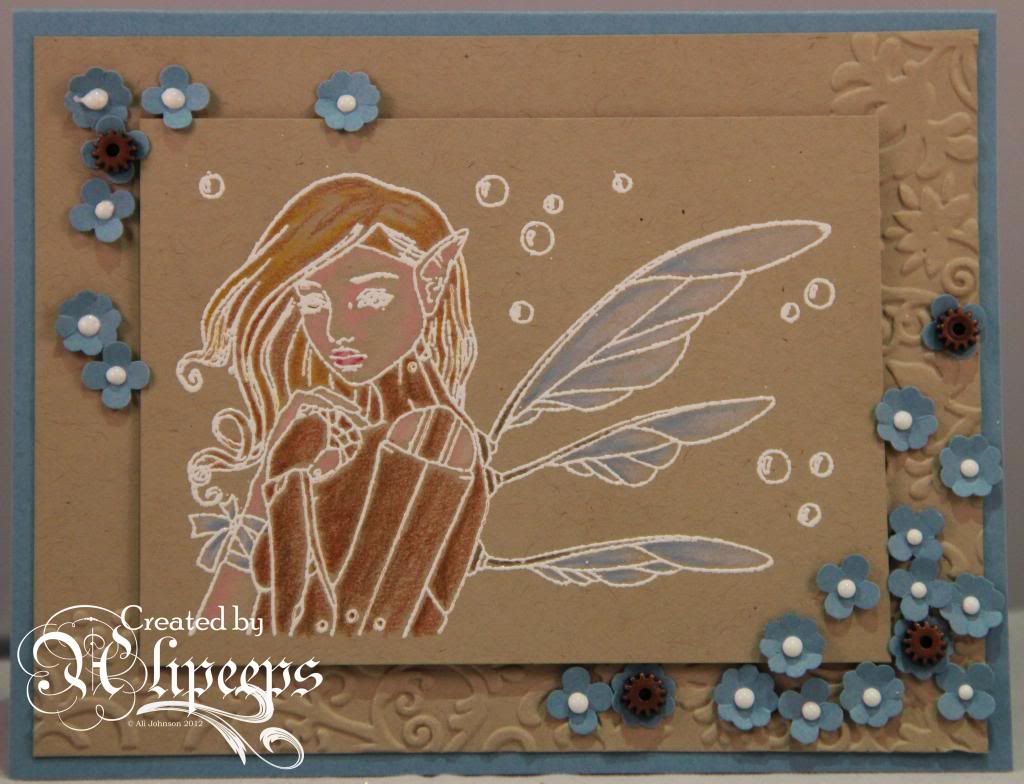
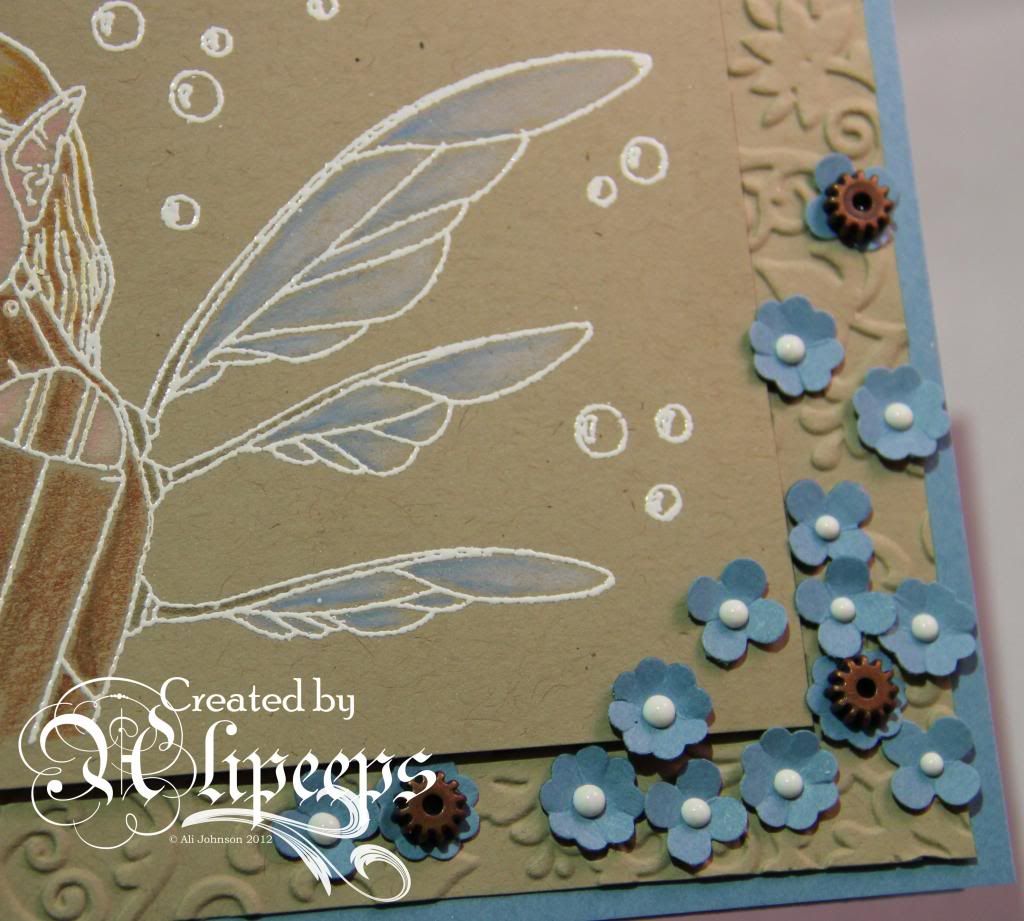
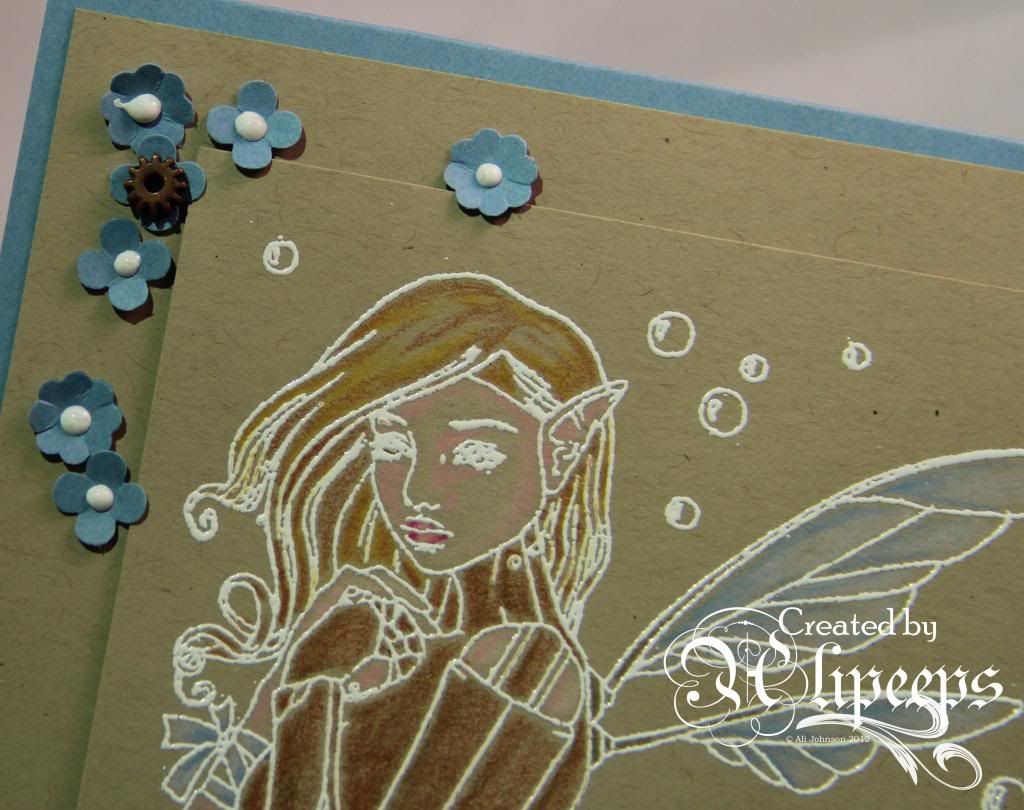
I've been seeing quite a lot of white embossing on coloured card in the online crafty-verse lately and it's a technique I was keen to try. I made this card (itself based off a card I found on Pinterest) and loved the effect and had the idea that white embossing might look lovely on a kraft-coloured card, with perhaps some delicate colouring.
So that's exactly what I did:
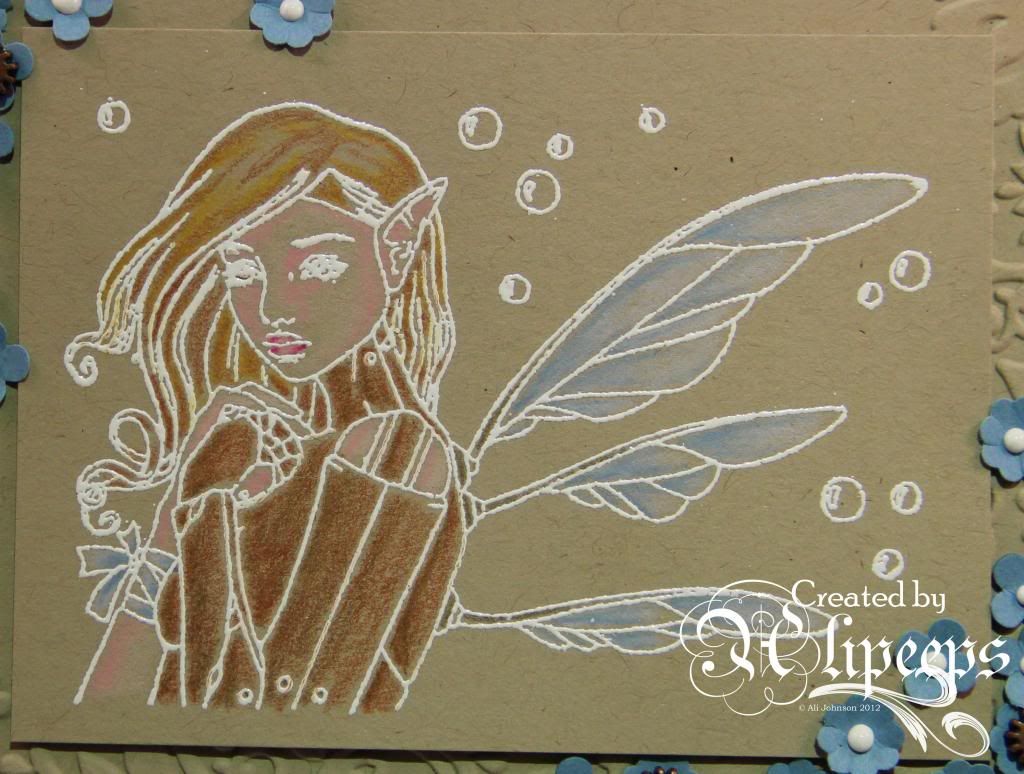
I thought this striking Repose image by Brigid Ashwood would be perfect for this technique and I love how she looks embossed and coloured this way.
I stamped her using Versamark ink and heat embossed with white embossing powder and then added some delicate colouring using Prismacolor pencils. I layered the image over a second piece of kraft card, which I had dry embossed with an embossing folder and then layered that onto a card blank made from blue card.
I kept the card quite simple and striking, finishing things off with some small flowers punched from blue card, decorating the centres with Enamel Accents and tiny metal cogs.
You can buy this stamp in red rubber format from the Sweet Pea Stamps store.

Thursday, August 30, 2012

Interchangable Bottle Cap Necklace

Today I would like to share a gift item that aside from the drying time is fairly quick to make. The kids love this bottle cap necklace and it is a lot of fun to create.


Supplies:
Stamps:
Brigid Ashwood's Phunky Phairies Sheet 2 (Sweet Pea Stamps)
Paper:
White Card Stock (Neenah)
Inks:
Momento Ink Pad, Tuxedo Black (Tsukineko)
Copic Markers (.Too)
     R00
     E02
     YR00
     E25
     E18
     E33
     Y06
     Y11
     Y00
     BG72
     BG11
     G0000
Gel Pens (Sakura)

     Rose Star
     Blue Star
     Marine Star
     Golden Star
     Lime Star
     Copper Star
     Red Star

Other:
Scissors (EK Success)
1" Circle Punch (EK Success)
.125" Ribbon, Purple (Offray)
Satin Cord, 18" length Purple (Unknown)
Bottle Cap (Found Object)
Jump Ring (The Bead Smith)
Nylon Thread (Unknown)
Needle (The Bead Smith)
Zip Dry Paper Glue (Beacon Industries)
Omni Stick (Hammer Head America)
Magnet Sheet (Found Object)
Glitter, Orange (Unknown)
Crystal Lacquer (Sakura)
Directions:
  1. Prepare the bottle cap by sanding off any markings and wash.
  2. Fill the inside of the cap with Crystal Lacquer and cover with glitter, allow to cure for at least 24 hours.
  3. Stamp the images, punch out the faces, color using YR00, R00, E02 for the skin; E18, E25, E33,Y06, Y11, Y00, BG72, BG11, G0000 for the hair; use the gel pens to color the backgrounds.
  4. Apply a layer of Crystal Lacquer to each  and allow to dry at least 24 hours.
  5. Adhere the thin ribbon around the bottle cap ridged edge with Omni Stick, leaving a .25" tail at the top.
  6. Sew the jump ring to the tail with the clear thread.
  7. Run the satin ribbon through the jump ring and knot at the end.
  8. Punch 1" circles from the magnet sheet, if there is a business label attach it may come loose - peel it away, otherwise leave it.
  9. Adhere the stamped images to the magnet circles, making sure that the blank side of the magnet is the side that will attach to the bottle cap.