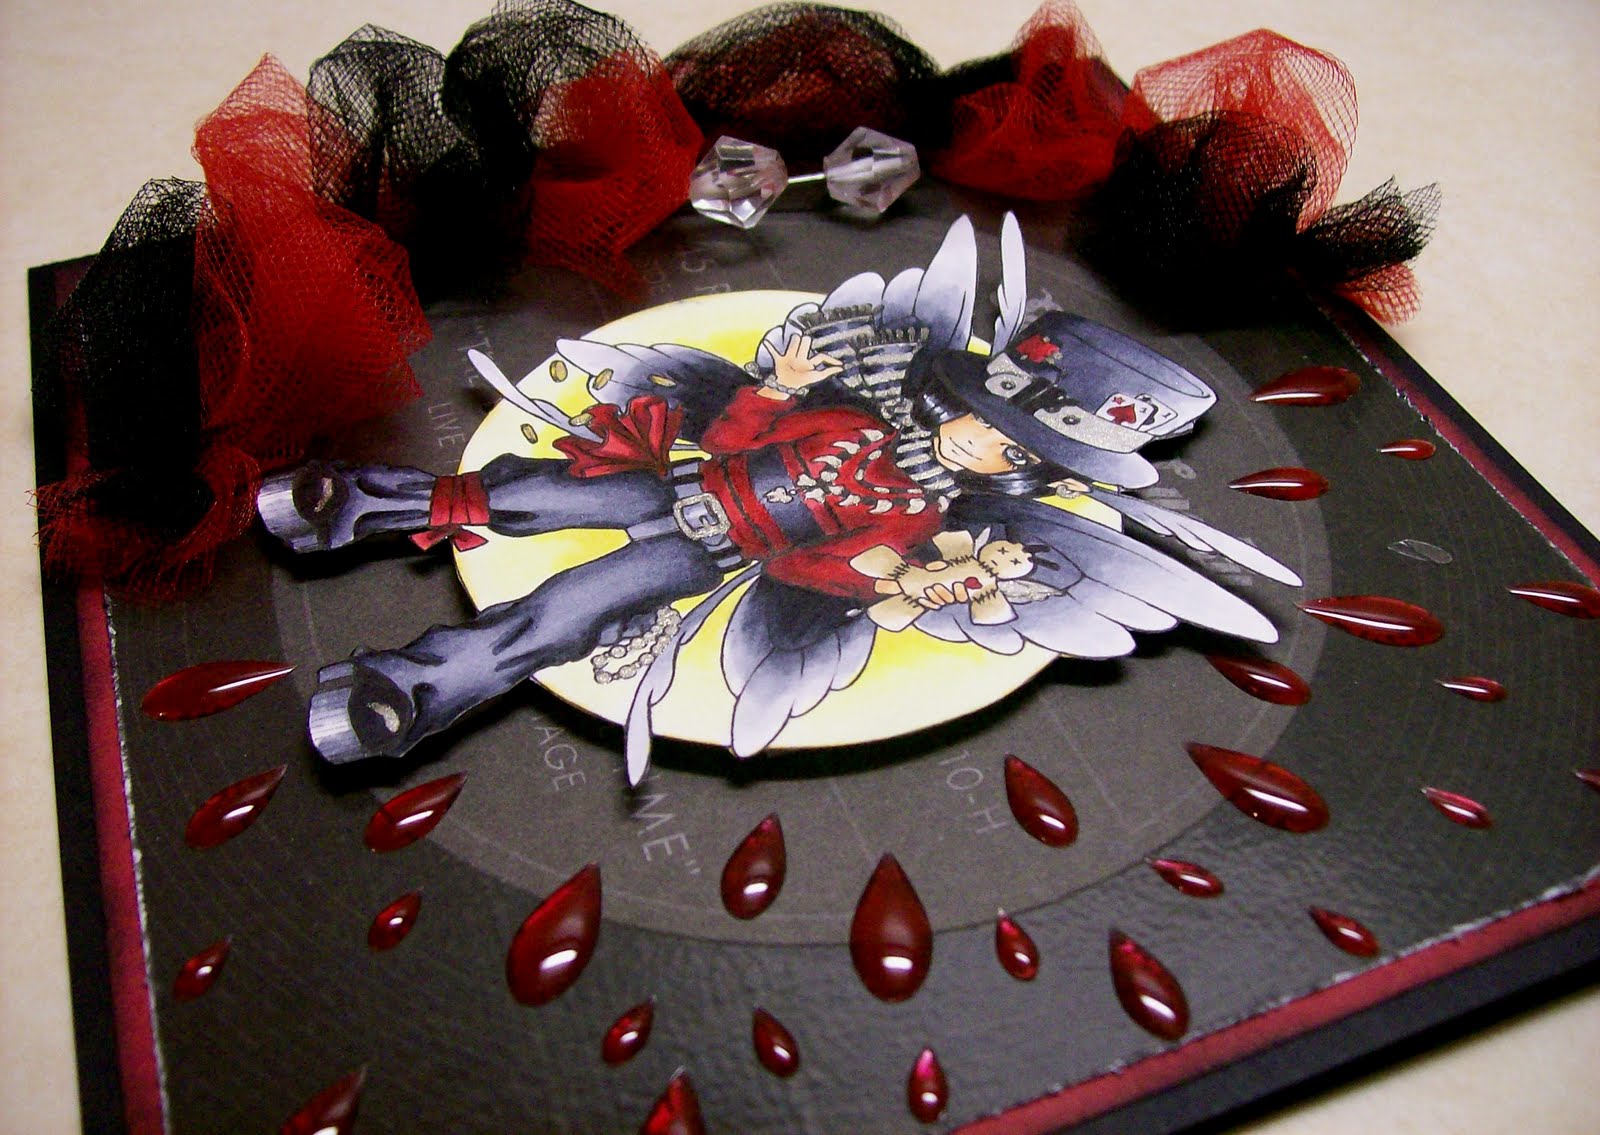
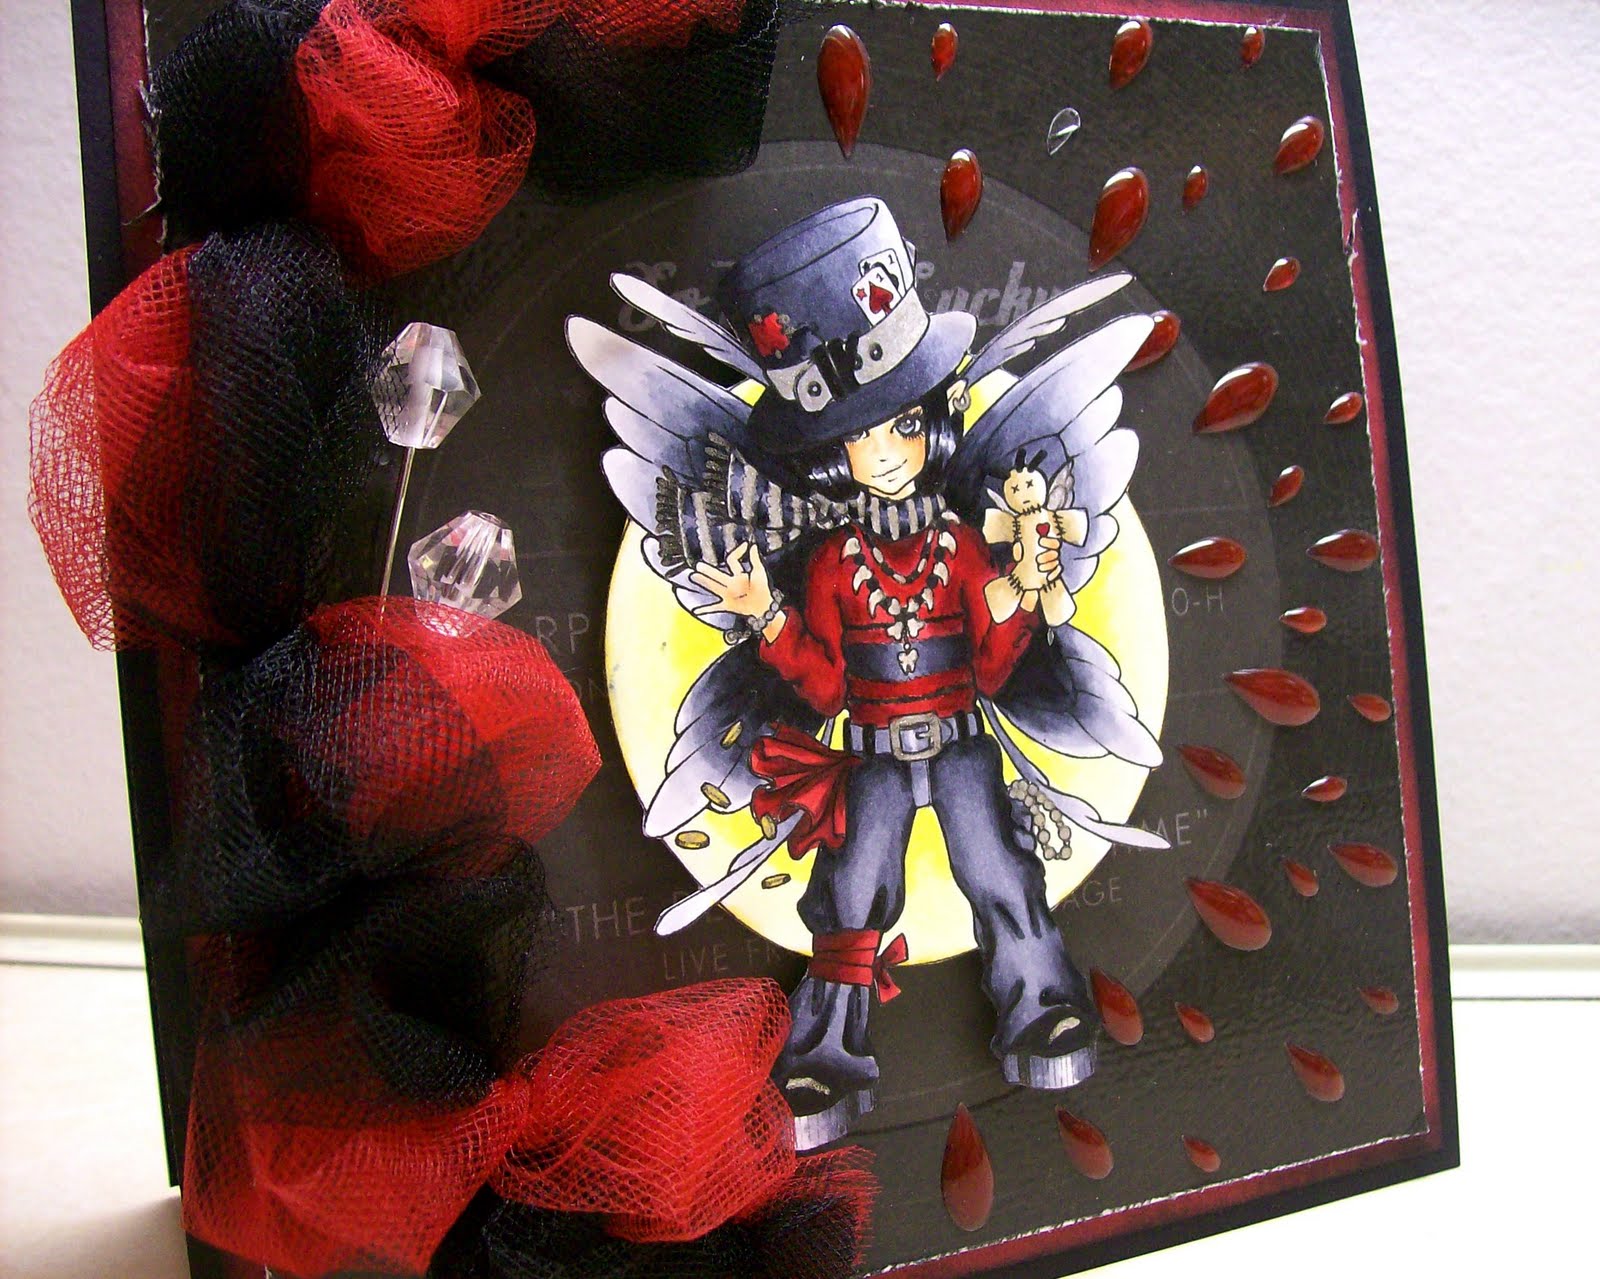
They were are colored with copics. The papers are all from my unsorted stash. But I believe the majority are bobunny.
Showing posts with label Plate #71. Show all posts
Sunday, December 18, 2011
Santa's Elves are soooo busy!
They were are colored with copics. The papers are all from my unsorted stash. But I believe the majority are bobunny.
Labels:
Christmas,
Elaine Cox,
Jennifer Willis,
Plate #71
design team member for Sweet Pea Stamps, Fairie Song Stamps, The Frantic Stamper and Painter for Third Coast Rubber Stamps.
Thursday, December 9, 2010
Christmas will soon be here...
This is a tag ornament made using one of the adorable elf images by Elaine Cox on plate #71. I think I said it before, but I just love these little guys!
This ornament was made using some thin cardboard, a 3", 2.5" & 2" circle punch, printed papers, manilla cardstock, copics, stickles, Krylon gold paint pen, Zip Dry adhesive, gold ribbon, and crystal lacquer.
To start, punch 3 - 3" circles from the cardboard - I used the stuff a many places will line shirts or collage sheets with to keep them stiff. Apply a layer of glue to one and stack on top of another, repeat with the remaining circle. Punch 2 - 3" circles from your base paper and adhere one to each side of the cardboard disc. At this time, punch your hanging hole (I use a crop-a-dile) and add a 10" gold ribbon for a hanger. Punch a 2.5" circle from a complementary paper, center and adhere to one side of the ornament.
Punch a 2" circle from the manilla cardstock, stamp the image and color with copics. Adhere the image to the center of the ornament. Working around the edge of the manilla cardstock center, frame with gold stickles. Place your ornament on a flat, out of the way surface and add a layer of crystal lacquer within the stickle frame. Allow to dry about 2 hours.
After the lacquer has had time to set, cover the entire ornament front with a layer of lacquer - you will want to cover the existing lacquer also. This gives the ornament a bit more dimension. Allow to dry completely - at least 24 hours, possibly more if it is humid.
Edge the entire ornament with the gold paint pen. Leaving the back of the ornament empty you can add bit of manilla cardstock with your name & the year and you have a sweet little tag you can place on a package that will last many years - enjoy sharing!
Keeping up the Christmas spirit, I wanted to share this card with you today. The image is from ching-chou kuik's Fantasy Art Collection - titled Holly Fairy, it can be found on Plate #60. She was colored with copics, the papers are American Craft, the holly leaves and rhinestone are from Prima. I added a bit of crystal lacquer to each of the holly berries for a bit of shine.
This ornament was made using some thin cardboard, a 3", 2.5" & 2" circle punch, printed papers, manilla cardstock, copics, stickles, Krylon gold paint pen, Zip Dry adhesive, gold ribbon, and crystal lacquer.
To start, punch 3 - 3" circles from the cardboard - I used the stuff a many places will line shirts or collage sheets with to keep them stiff. Apply a layer of glue to one and stack on top of another, repeat with the remaining circle. Punch 2 - 3" circles from your base paper and adhere one to each side of the cardboard disc. At this time, punch your hanging hole (I use a crop-a-dile) and add a 10" gold ribbon for a hanger. Punch a 2.5" circle from a complementary paper, center and adhere to one side of the ornament.
Punch a 2" circle from the manilla cardstock, stamp the image and color with copics. Adhere the image to the center of the ornament. Working around the edge of the manilla cardstock center, frame with gold stickles. Place your ornament on a flat, out of the way surface and add a layer of crystal lacquer within the stickle frame. Allow to dry about 2 hours.
After the lacquer has had time to set, cover the entire ornament front with a layer of lacquer - you will want to cover the existing lacquer also. This gives the ornament a bit more dimension. Allow to dry completely - at least 24 hours, possibly more if it is humid.
Edge the entire ornament with the gold paint pen. Leaving the back of the ornament empty you can add bit of manilla cardstock with your name & the year and you have a sweet little tag you can place on a package that will last many years - enjoy sharing!
Keeping up the Christmas spirit, I wanted to share this card with you today. The image is from ching-chou kuik's Fantasy Art Collection - titled Holly Fairy, it can be found on Plate #60. She was colored with copics, the papers are American Craft, the holly leaves and rhinestone are from Prima. I added a bit of crystal lacquer to each of the holly berries for a bit of shine.
Labels:
ching-chou kuik,
Christmas,
Holly Fairy,
Jennifer Willis,
Plate #60,
Plate #71
design team member for Sweet Pea Stamps, Fairie Song Stamps, The Frantic Stamper and Painter for Third Coast Rubber Stamps.
Friday, October 29, 2010
3 cards to share today
I colored the background with Twinkling H20's and the image with copics. I can't believe how many Christmas cards I have made already this year.
Ink: Memento Tuxedo Black
Paper: MS Christmas DP from last year, image was stamped on Mohawk white CS
Accessories: Prima flowers and leaves, gold bling for flower centers, background of image was colored with copics then I painted it with Twinkling H20's. I also added some sparkle with a Clear Sakura glitter pen and some green to the leaves, gold and green ribbon (the green ribbon was sent to me from my blogging friend Sarah)
You will have to forgive my pic's as it was dark when I took this pics and the colors are so bright they would had turned out better if I could had taken them outside with natural light. I wish you could see it in person.
Here he is with a totally different look.
Labels:
Angela,
Brigid Ashwood,
ching-chou kuik,
Plate #60,
Plate #71,
Poinsetta Fairy,
Zam
I love all things crafty. Stamps and Scrapbooking are on the top of my list. I hope to share some of my love's in life with others. And to know that I'm not the only obsessed crafter out there. I have been married to my husband Bill for over 11 years. I have three children; my daughter Destiny(18),Son Bailey(11) and my youngest Jazmine(7).
Thursday, October 28, 2010
Elaine Cox Collection: Plate #71
These adorable little guys recently arrived and I couldn't wait to use them, they remind me so much of the little elves in the Rudolph the Red Nose Reindeer claymation classic.
Labels:
Christmas,
Elaine Cox,
Jennifer Willis,
Plate #71
design team member for Sweet Pea Stamps, Fairie Song Stamps, The Frantic Stamper and Painter for Third Coast Rubber Stamps.
Subscribe to:
Posts (Atom)