Showing posts with label Meredith Dillman. Show all posts

Monday, August 10, 2015

Sande presents Fairy Lights by Meredith Dillman


Hello eveyone!

Sande is here with you today. 
I have decorated a lantern using this stunning image by
  Meredith Dillmann called "Fairy Lights".

Isn't she just Beautiful!! 
I have colored her with Copics.

 You can find this Beauty at the Sweet Pea Stamps store 
as a digital and a rubber stamp.  

There is much more fabulous images at Sweet Pea Stamps so don't forget to pop over!
Hope you'll get some inspiration here and create something great!

Don't forget to come back every day and see other DT's outstanding creations!


Thursday, July 9, 2015

Tera Presents Steampunk Doll By Meredith Dillman

 Hallo,
  One of my very favorite projects to do is a decorative box and today I used the 'Steampunk Doll' by Meredith Dillman to decorate it.
  I colored her with prismacolor pencils and then added some glitter here and there and edged that panel with gold metallic pen.
  I used a decorative corner made from clay and a sand dollar seashell that I had decoupaged with some light weight paper with old fashioned watches on it. (talk about hoarding my stash - the batch of seashells that I decopaged have been in a box 'saving' them since I picked them up off the beach back when I lived in south Texas - oh a bit over 25 years ago - sheesh....)
  Anyhow I also used some older drawer pulls for the feet on the box as well as one on top to use lifting the lid and made a matching chipboard book to go with it too for pictures or a small journal - it is only 5 pages....
  All for today - Take Care
        Tera


Monday, June 15, 2015

Sande presents Broken Angel by Meredith Dillman


Sande is here with you today
sharing a card using this fabulous image by
  Meredith Dillman called "Broken Angel".

Such a gorgeous stamp!! 
I have colored her with Copics.

 You can find this Beauty at the Sweet Pea Stamps store 
as a digital and as a rubber stamp.  

There is much more fabulous images at Sweet Pea Stamps so don't forget to pop over!
Hope you'll get some inspiration here and create something great!

Don't forget to come back every day and see other DT's outstanding creations!
Hugs, Sande xx


Friday, January 9, 2015

Red Poppy Fairy

Here's a gorgeous image from Sweet Pea Stamps artist Meredith Dillman called Red Poppy Fairy.  This stunning stamp is currently available in rubber stamp or digi stamp format.  I used lots of bling to go with this image as well as some shimmery brads, buttons and a shiny coated butterfly.

Here's a close up of the image. Isn't she just stunning?

Drop by the Sweet Pea stamps store and check out all of Meredith Dillman's designs.  She has a beautiful assortment of gorgeous maidens, fairies, and even steampunk.  Also, drop by our Facebook group, Sweet Pea Stamps Friends and Fans to share your creations with us. We have lots of fun contest and giveaways there.  Cheers, Holley

Sunday, November 16, 2014

Peacock Fairy - Jane's view

Sweet Pea Stamps

Today is my day to showcase an image from Sweet Pea Stamps and I decided to work with the image Peacock Fairy by Meredith Dillman.

I have had this image for ages and have been longing to colour her but wanted to wait until I had some real peacock feathers to work with for the card too :)

To begin with I created the card base.  When I was designing this card I created a very swirly cut out design for the front windows.  That was fun to do but thinking about it I wondered if I would be able to cut it successfully first time.  My die cutter is more than capable but I have learnt over the years a new mat and needle are imperative for something like this along with the type of card being worked with, something with a tight composition, bone dry and preferably white is the best I have found for cutting.  Being a bit pushed for time and not wanting to trash a new mat I wondered if it would work to cut the design using cream vinyl and then applying that to a clear plastic sheet - worth a go.

Here is the cutting done
Next I used some cheap lightweight vinyl to transfer the cut shape and apply it to the clear plastic sheet.  Next I cut around the outside of the shape, scored the fold lines and done.  Yep, this, I think was a great success.
Now, for some reason, I don't seem to have taken any more photos.  Think that is because I am tying to get lots of blog post done before I go on holiday and some things are just slipping from my memory lol.  Anyway, I printed the image with a 60% opacity to prepare it for the no-line colouring technique the proceeded to colour using Promarkers.  As there is nowhere to write inside this card I used a Spellbinder die and the same dp as I used to cover the inside of the card.  To finish off the back I used a few of the longs strands found on peacock feathers and a tiny wee bright blue bow.  The front of the card has the same embellishment and a birthday tag.  To finish off the front, Liquid Pearls were placed on the swirl ends of the cut out design.

Back of card
 Front of card

Ingredients
  • Image -  Peacock Fairy by Meredith Dillman available in rubber or as a digi
  • Promarkers
  • Dies - C Art Decorative Oval Frames, Spellbinders Adorning Squares-7 and Spellbinders Classic Scallop Squares
  • Vinyl, Liquid Pearls, plastic sheet, peacock feather, bow etc. from my stash
Thank you for stopping by and hope you have a great crafting day ahead of you :) :)

Sunday, August 31, 2014

Gears and Glass

Sweet Pea Stamps

Today is my day to showcase an image from Sweet Pea Stamps and I have chosen to work with the image Gears and Glass by Meredith Dillman.  I followed this month challenge theme for this creation of 'The Holiday's are Coming'.  As I keep saying I am not a lover of Christmas and I have to admit I don't like Halloween either, I guess it is because the kids have grown up and at the moment we live in different countries, the kids in the UK and hubby and I are in Saudi Arabia just now.  Anyway, back to my creation, during holiday festivities there are always lots of parties going on so my card is party based :) with the floral background representing leaves and flowers falling for Autumn and the lovely lady all dressed up in her finest attire for Halloween and Christmas parties.  Hope I get away with my off the wall thinking hahahaha.


To begin with I printed and coloured the image with Promarkers.  I then added clear embossing powder to her shoes and holographic embossing powder to her wings and the lights.  Trying something new, I distressed the edges with the Tim Holtz distressing tool - very odd to use but easy peasy.
Promarkers used
There is not much work in the embellishing of this card, just some lace and a border which I added text to before printing.  A couple of corner dies (Tattered Lace) and that was it.  However not an easy card in my book, the image took me about 2 hours to colour, so quick on the card, timely on the colouring :)

Ingredients
  • Image -  Gears and Glass by Meredith Dillman
  • Promarkers
  • Dies - Tattered Lace corners
  • Backing paper - Crafters Companion
  • Lace and buttons from my stash
Thank you for stopping by and hope you have a happy crafting day ahead of you :) :)

Wednesday, August 20, 2014

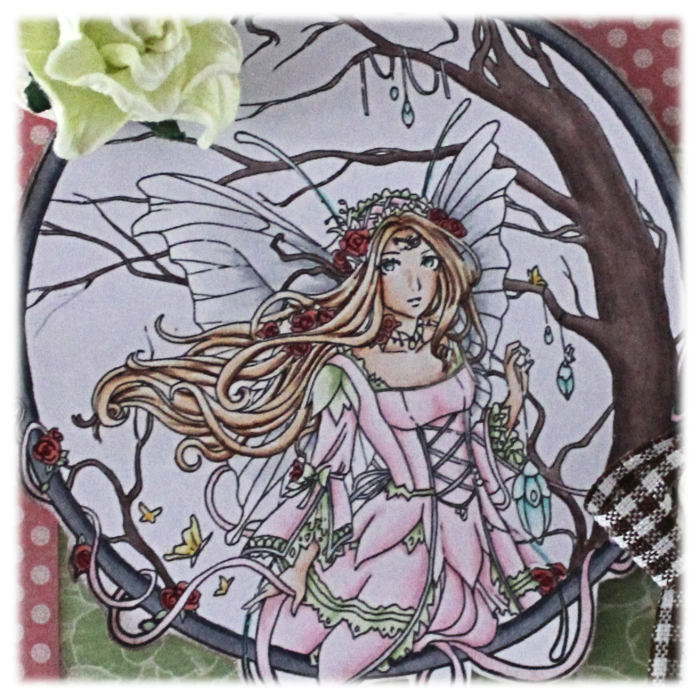
Fairy Lights

The level of details in Meredith Dillman's gorgeous images are amazing. I love coloring her pictures, over and over again. I seem to always find more pretty little things, like little bows or butterflies, or lace peeking out from underneath layers of fabric.


I decided to go for rather light colors with the fairy, and as always, I used my copics.
Skin: E0000, E000, E00, E11
Hair: E50, E51, E33, E57
Pink: RV000, RV00, RV10, RV11
Green: G20, G40, G43
Grey: C0, C2, C4, C6
Brown: E71, E74, E77
Sky: B60
Red: R14, R24
Butterflies: Y13, Y15, Y17
Fram: C4, C6, C8
Jewels: BG10, BG11, BG13, BG15


My favorite card fold is the easel card, but I amde it with a bit of a twist this time. Only half of the card folds up, which lets the flowers and the 'fence paper' stick up. Giving the entire card an airy feel.


The image I used is Hanging Fairy Lights by Meredith Dillman, found at the Sweet Pea Stamp store as both rubber and digital stamp.


Thank you so much for stopping by today.
-Lina

Wednesday, June 18, 2014

Wisteria by Meredith Dillman

I still remember when I got my first Meredith Dillman stamp. Her unique way of drawing makes these images so much fun to color. And I often find myself really playing with light and shadow, when I work on one of her images. Like this gorgeous Wisteria.

I used Copics to color her, and chalks for the background. I find chalks so easy to use when adding just a little bit of color to the background. The Copics I used are:

Skin: E0000, E000, E00 E11
Wings: RV00, RV91, RV93, RV95, RV99
Wood: E43, E44, E47, E49
Dress: BG70, BG72, BG75, BG78
Leaves: G82, G85, G94, G99
Hair: E50, E53, E55, E27
Butterflies: Y32, Y35, Y38, E15


I didn't really have papers that matched the colors of her wings or dress. But the greens match the leaves perfectly and I think the brown and pink in the papers compliment the aqua and purple on the image. I wanted the card to have a real girly and elegant feel, so I added lace and a few dew drops, as well as skeleton leaves, to give it a sense of being fragile to the touch.


The stamp is available at the Sweet Pea Stamp store as a digi and rubber stamp.
Thanks so much for stopping by today
-Lina

Saturday, December 21, 2013

Meredith Dillman's Fanciful Notions


Hi everyone, Corinne here again.. Today I have Meredith Dillman's
or 

Oh I just love this beautiful image, so make sure you go check out all her amazing images
Colored with Copic Markers and 
I used the Sewing Elements dies from Spellbinders
hugs


Sunday, September 1, 2013

Meredith Dillman's Moon Fairy

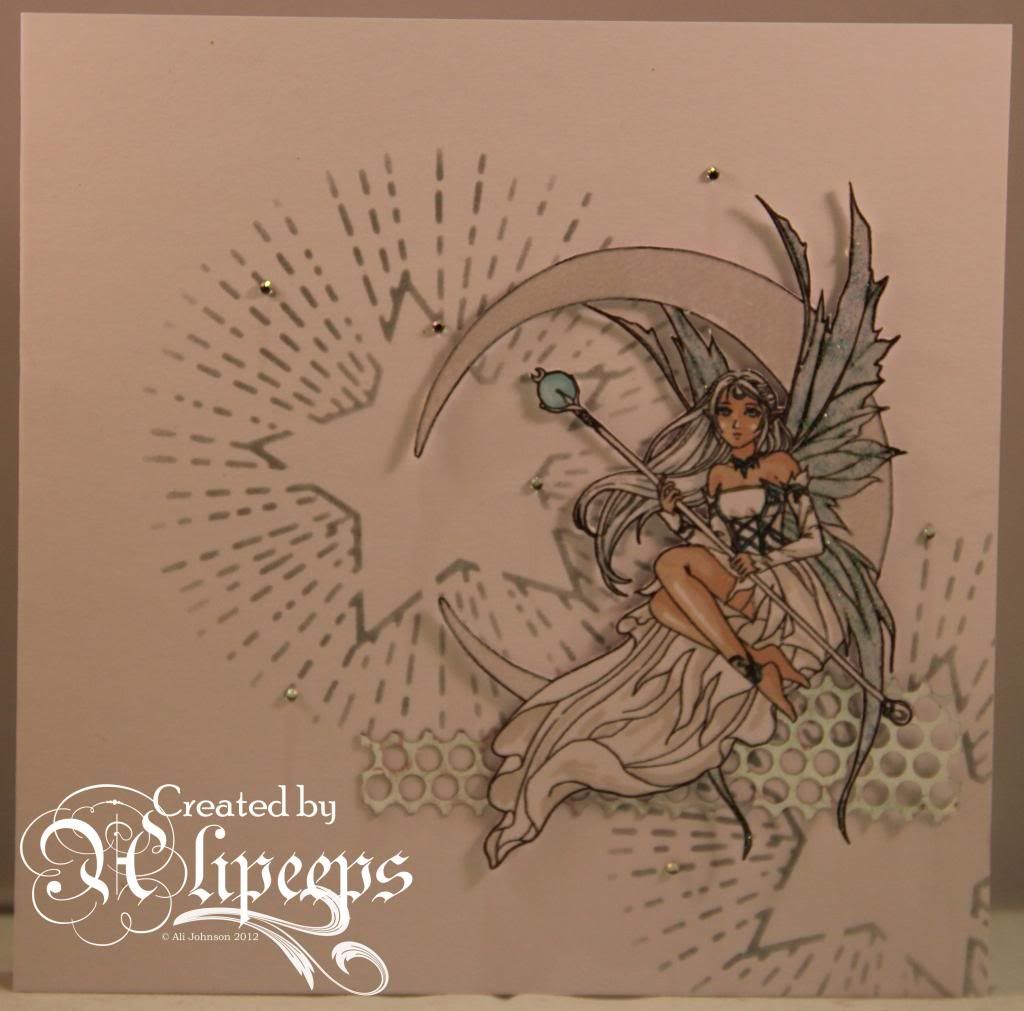
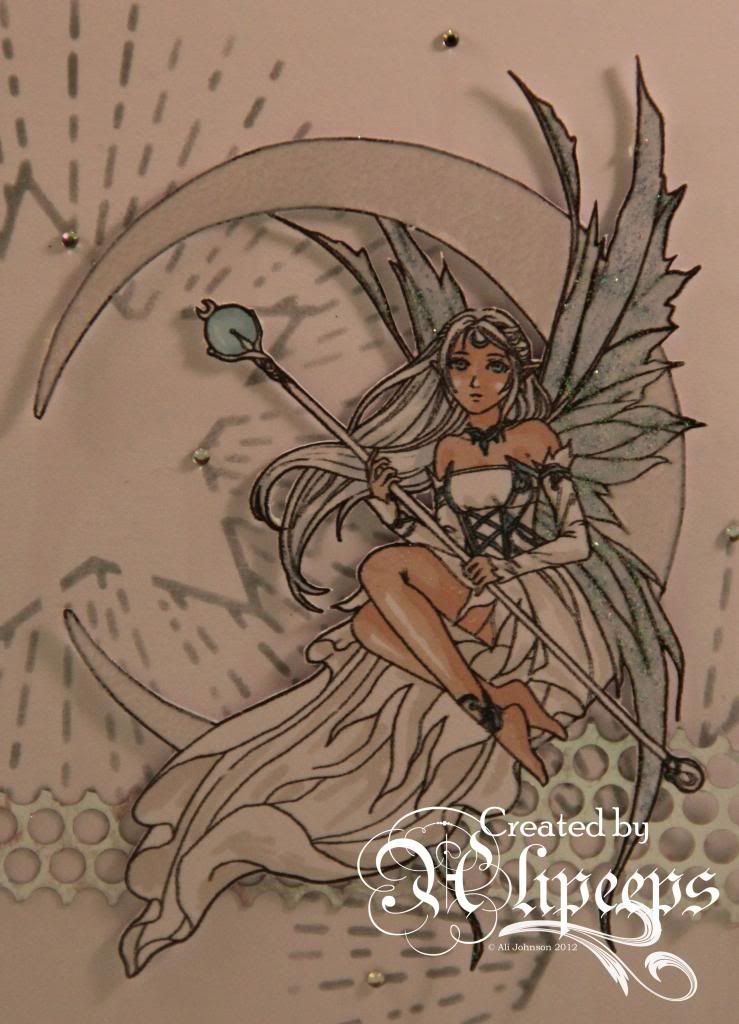
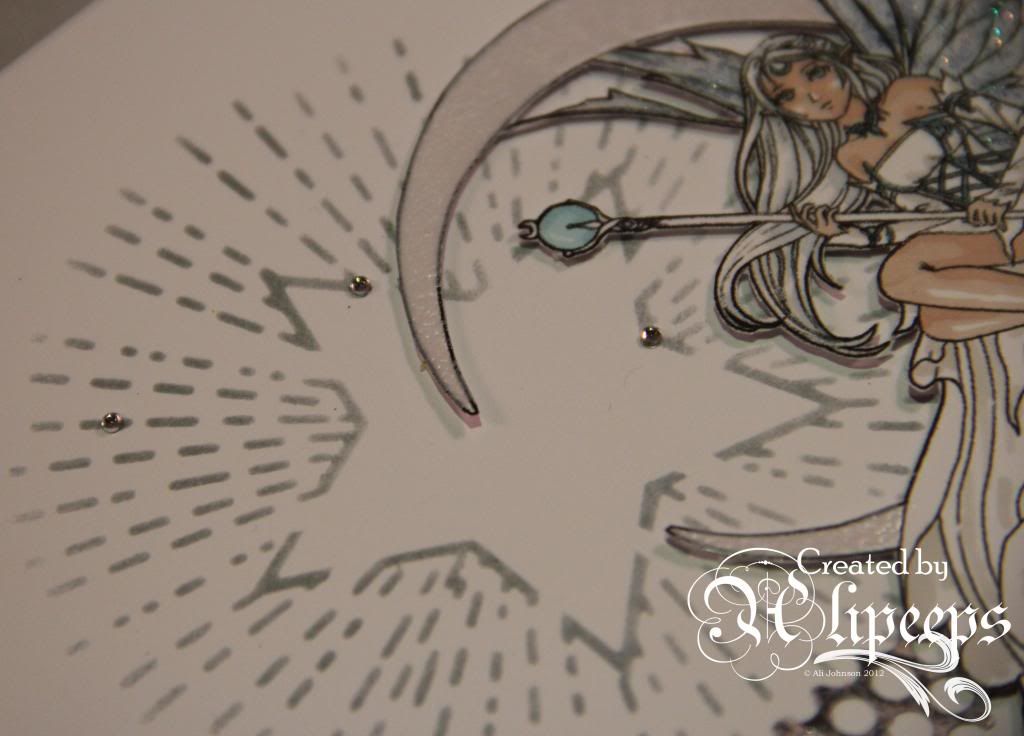
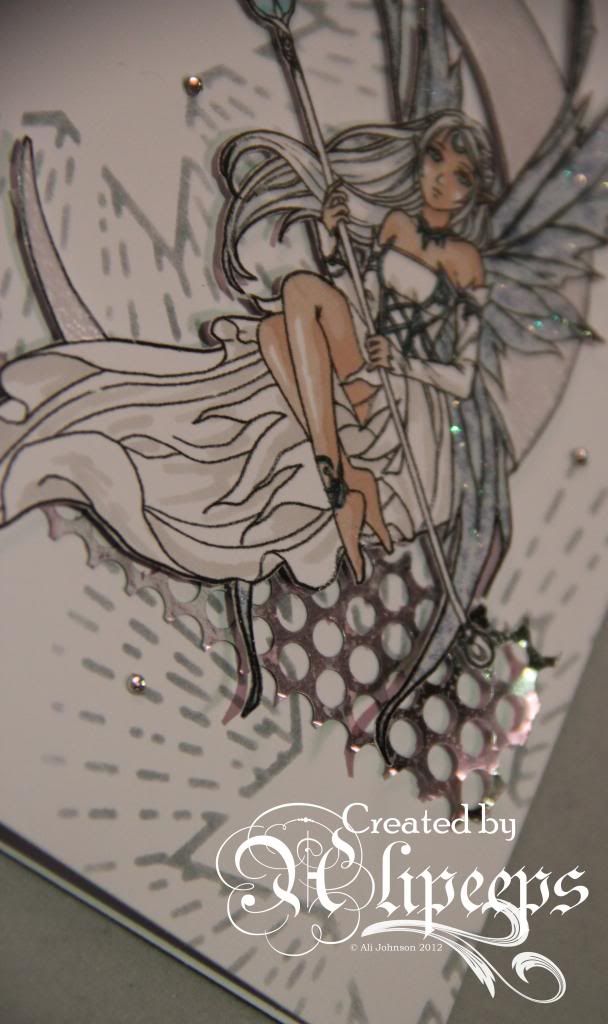
I love Meredith Dillman's fantasy/steampunk images and this Moon Fairy one is gorgeous - it's so delicate and pretty, with her gossamer wings and flowing gown.
I decided to do a fairly clean and simple style of card with this stamp. I coloured the image with my Promarkers in pale shades of blue and white:
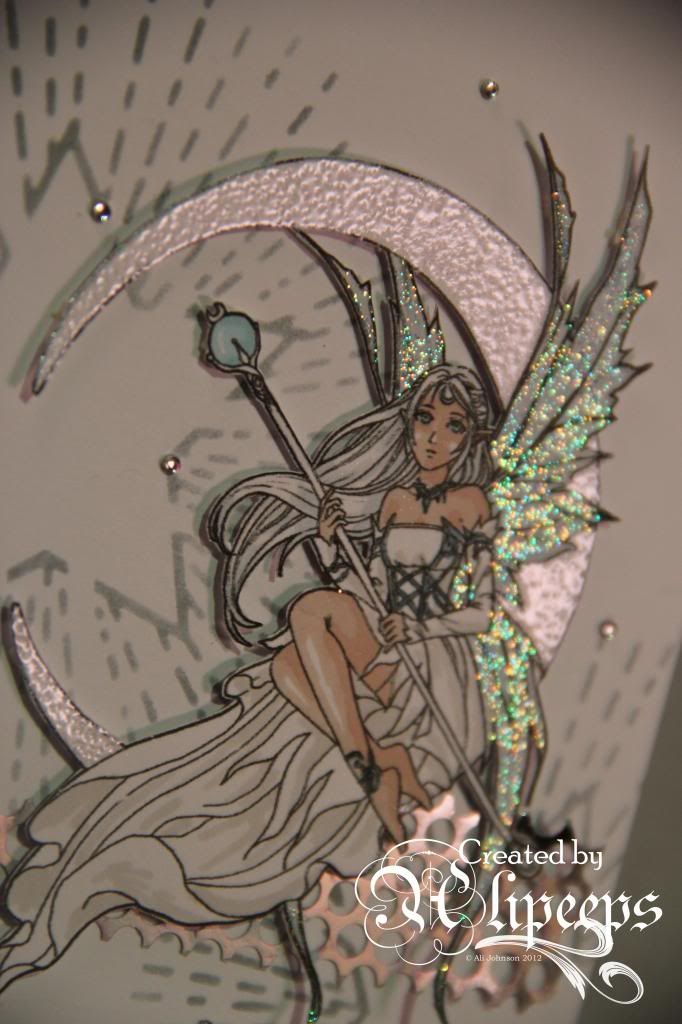
And then added lots of shimmer and sparkle with Stickles on her wings and pearlescent embossing powder on the moon:
I used a white card blank and sponged Weathered Wood Distress Ink through a star-patterned stencil:
To finish I attached a torn strip of punchinella and attached the coloured image over it using foam pads and then added a few tiny gems.
This gorgeous stamp is available in digi or red rubber format from the Sweet Pea Stamps store.

Wednesday, February 6, 2013

Have a Magical Day!!!!

 Hello Ladies. Today i have a "Blue Butterfly Fairy" card for you, but in my case she is Monarch Butterfly, as she is Orange. This gorgeous image was grated by amazing Meredith Dilman at Sweet Pea Stamps. I colored image with Copic Markers and used Distress ink Broken China for making clouds.
 My backing Papers by DCWV Collection. I used two MS Lace border Punches. Also i used Blue Ribbon and stitched all to my base card. My sentiment "Magical" are from Sweet Pea Stamps.
Die Cut behind the image from Heartfelt Creations
Have a magical Day everyone!!!
Hugs Nataliya

Sunday, January 6, 2013

Connie-Fanciful Notions


I'm afraid I haven't done justice to this gorgeous image by
Meredith Dillman titled
"Fanciful Notions"
She is so lovely that I hated to add much
in the way of bling, not
wanting to detract from her beauty.
I have colored her with Copic markers,
used a pretty sticker by daisyd to frame her with
and added a sticky button by Jenni Bowlin.
The crackle background is a paper from my stash.

The sticker frame seemed to scream
"use me! use me!"
...so I did!

You can find this lovely image on plate #202 by clicking below:


Thanks for stopping by!
Connie

Wednesday, December 26, 2012

Seasonal Steampunk

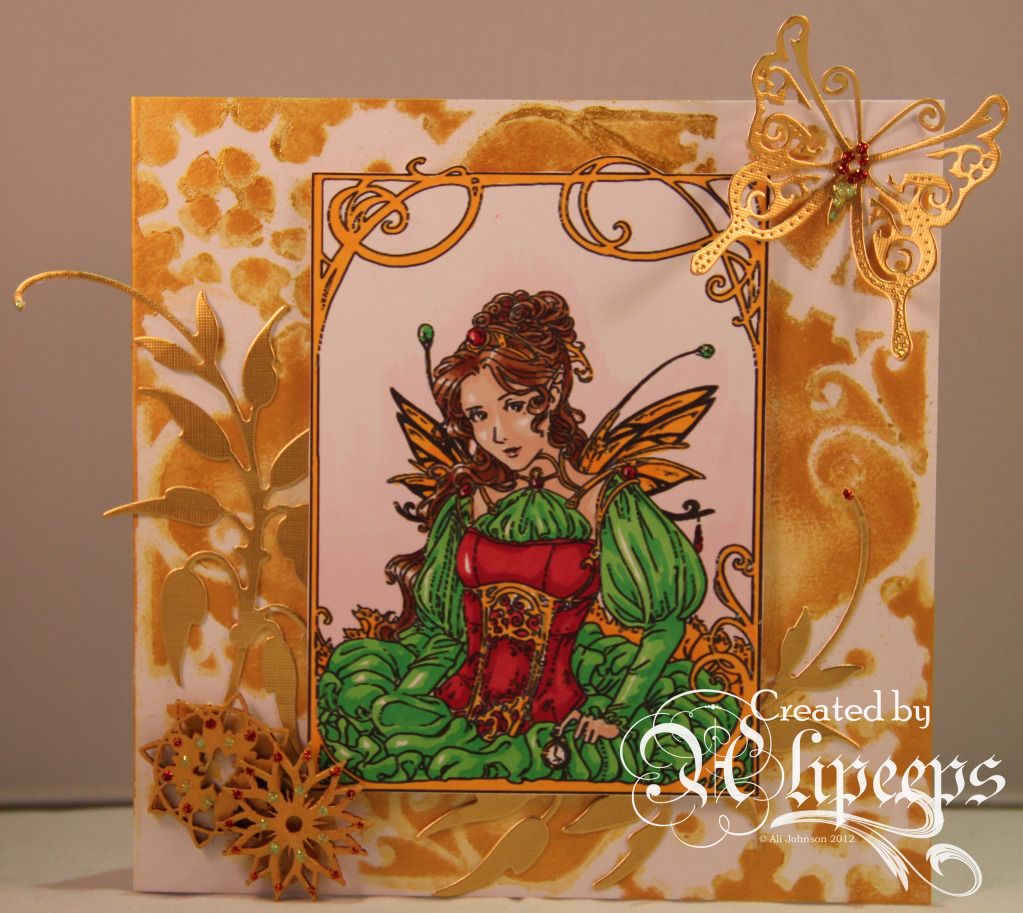
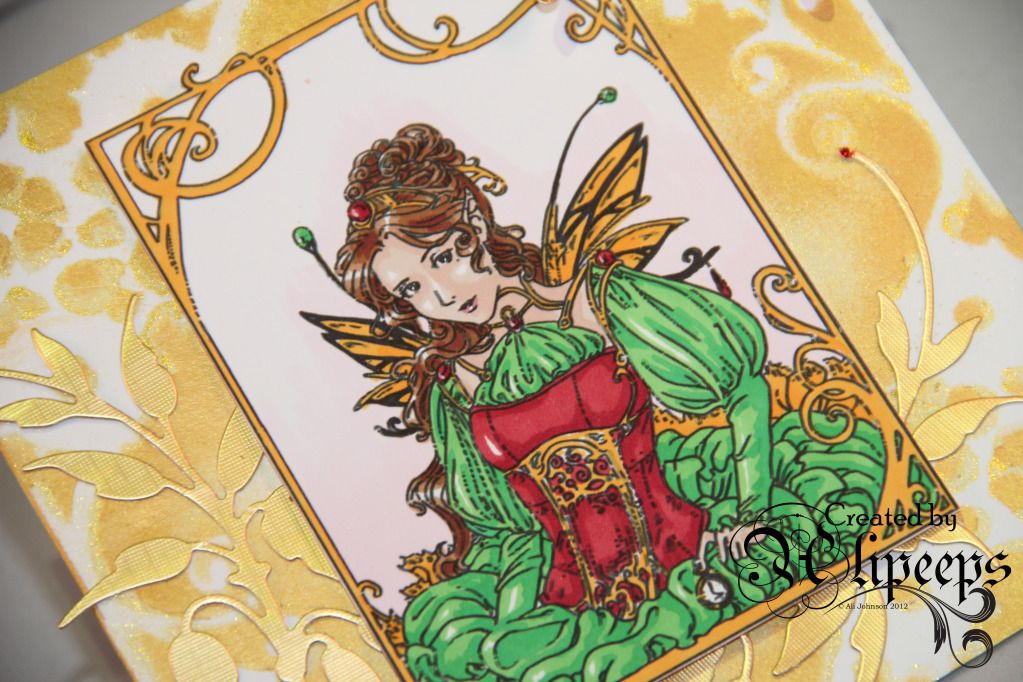
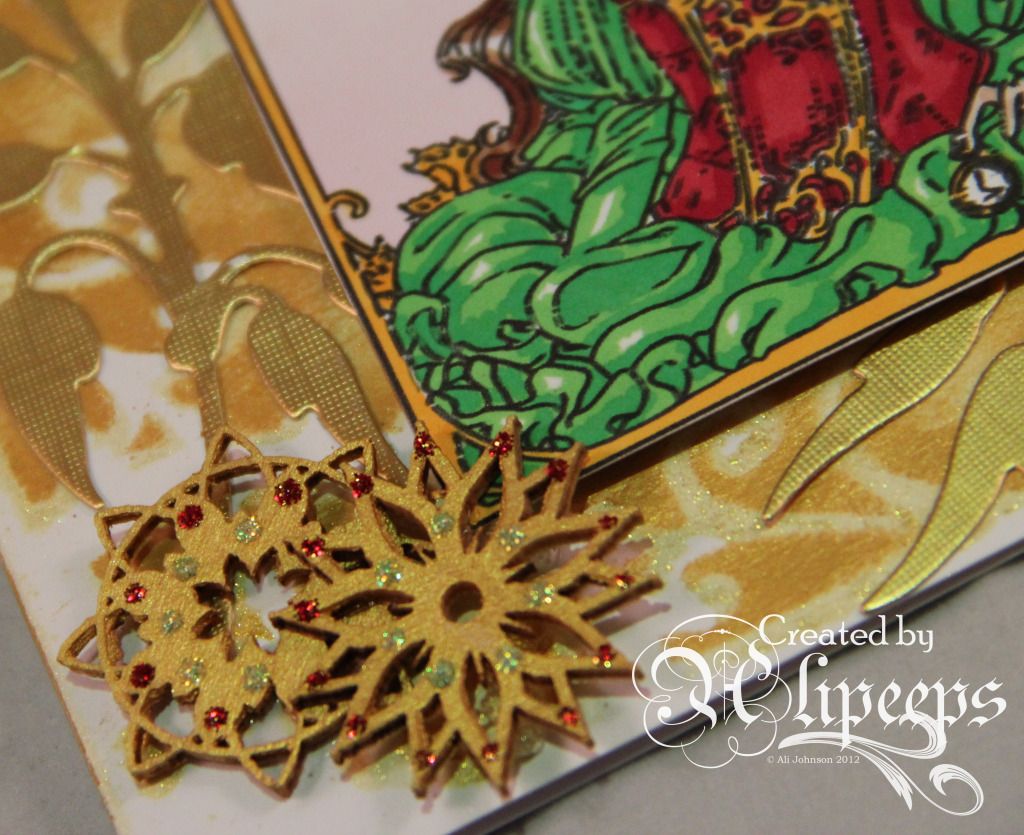
I started off colouring in this gorgeous Meredith Dillman digi stamp in shades of gold and green... but then I also added red to the dress and somehow the colour scheme became rather Christmassy and festive! :)
I love the detail of this image. It's called Steampunk Fairy and it's gorgeous... all the ruffles of her dress, the gemstones and metalwork, the intricate weave of her hair, the beautiful art deco-ish scrollwork of the frame. I coloured her in with my Promarkers and also dug out my Flexmarkers to add a delicate pink colourwash to the background:
I used a steampunk-themed frame mask for the base card, spritzing over it with golden Smooch Spray and then rubbing Inka Gold over it.
I attached the coloured dig stamp using foam pads and added die-cut leafy flourishes cut from gold card and some wooden flowery/doily shapes coloured with Inka Gold. To finish off I added a die-cut butterfly and some dabs of red and green Stickles.
I hope you all had a lovely Christmas and are not feeling too "festive"ed-out! :)
Ali xx

Monday, December 17, 2012