Showing posts with label goth. Show all posts

Tuesday, July 8, 2014

Eva the Witch and Sweet Pea Stamps

Hi all! I hope that you had a great weekend. It’s Tuesday and time for me to show you something that I made with a Sweet Pea image. I am on a Teresa Sherman kick this month. For this project I chose Eva the Witch. Eva can be found in digital format and as a rubber stamp.


Eva has been colored with Copics and a few glitter pens. She was then fussy cut and layered on some brown designer paper. I distressed the edges of this brown designer paper.


The background designer paper was distressed and layered on the same brown paper. All of these edges were distressed also. I attached this paper to the black base card. I die cut a spider web and sprayed some shimmer spray all over it. After the web was dry I attached it to the background.


I then added the main element to the card. You really can’t see them, but I die cut some corners in black and added them around Eva. The final embellishments are the roses which were distressed with black soot distress ink.

Have you checked out our One Sweet Challenge? I hope you join us. If you do, and you used a Sweet Pea image, head over to our Facebook’s Group art contest.  The one going on right now lasts until July 7. That gives you plenty of time to make some Sweet Pea goodness.

Thanks for stopping by. I hope that you stop by every day and check out what Sweet Pea’s Design Team has in store for you. If you have any questions, you can always contact me.
Aletha Jane
Sweet Pea Designer

Tuesday, July 1, 2014

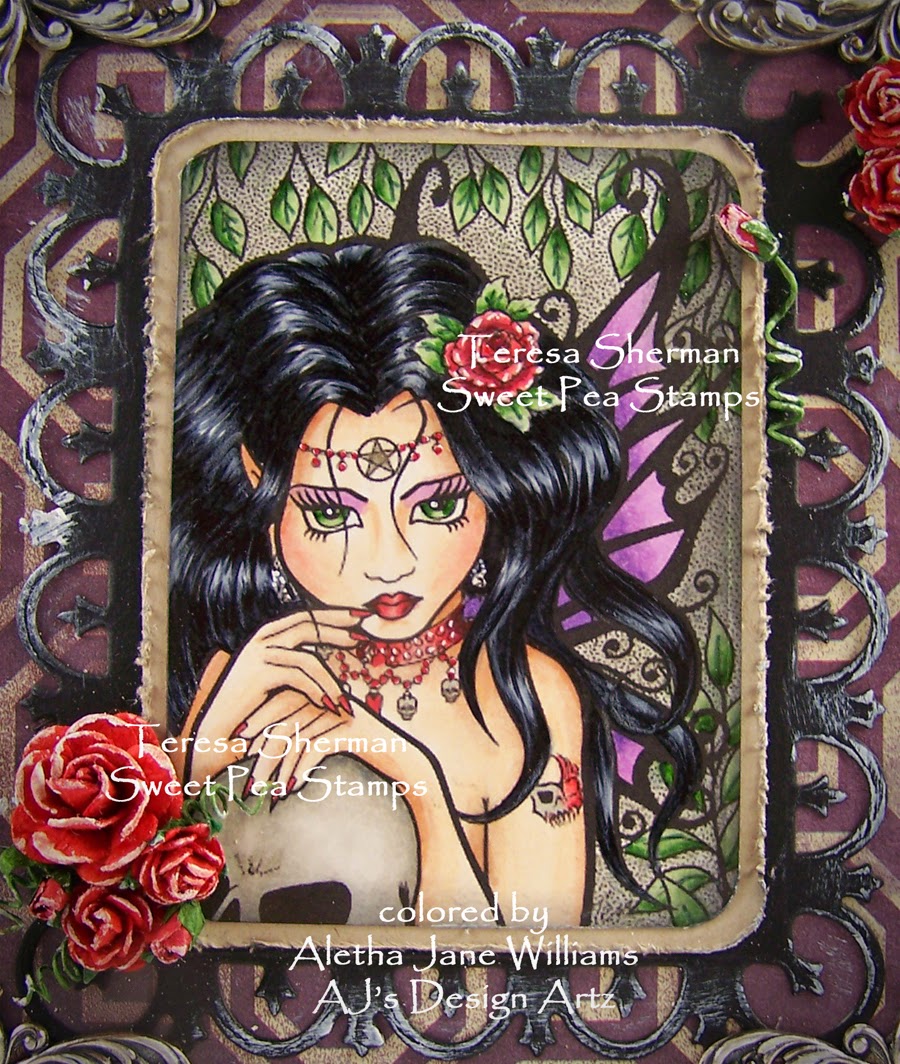
A Gothic Fairy at Sweet Peas Stamps

Aletha here with a project from one of my favorite artists at Sweet Pea Stamps. That artist is Teresa Sherman. All of Teri’s images are available in digital format or as rubber stamps, your choice.
Today, the image I chose, Gothic Fairy, is in the digital format. Gothic Fairy has been coloring with Copics and after trimming I applied some Black Soot Distress ink to the edges. She was then layered her on some tan cardstock with the edges distressed and more distress ink added to those edges. To finish the final bottom layer I die cut some black card stock and aged the edges with white gesso. After the gesso was dried I layered the first two layers. My main element is complete.


My designer paper is from my stash. The edges were distressed and Black Soot Distress ink was added to the edges. This was then layered on tan cardstock that was treated the same way as the designer paper. This final layer was attached to the black base card and the main element was attached to that. My embellishments are roses and metal corners.  These were also aged with white gesso.


Have you checked out our One Sweet Challenge? I hope you join us. If you do, and you used a Sweet Pea image, head over to our Facebook’s Group art contest.  The one going on right now lasts until July 7. That gives you plenty of time to make some Sweet Pea goodness.

Thanks for stopping by. I hope that you stop by every day and check out what Sweet Pea’s Design Team has in store for you. If you have any questions, you can always contact me.
Aletha Jane