Showing posts with label Plate #28. Show all posts

Sunday, August 26, 2012

Connie-Sweet Pea Checkbook Cover


I have dipped into my Sweet Pea Stamps stash for
this project.  My old checkbook cover was
getting a little ragged looking so I gathered up some
 Sweet Pea Stamps
and made a new one.

I used some images from Plate #28 by
ching chou kuik and some pretty pearl swirls
by Recollections paired with some
papers by K and Company along with
my butterfly edger punch by Martha Stewart for one
side (top photo).

The bottom photo shows the other side of the cover with
the same paper pad (different design) and same butterfly punch.
On this side I used stamps from Plate #5
"Wanna Have Fun"
as well as some Stickles by Ranger
"Stardust"
and small gems here and there.

I punched a border from one paper and adhered it to the other paper and
repeated for the other side for added contrast.

A simple but useful project yes?
Thanks for stopping by!
Connie

Sunday, February 19, 2012

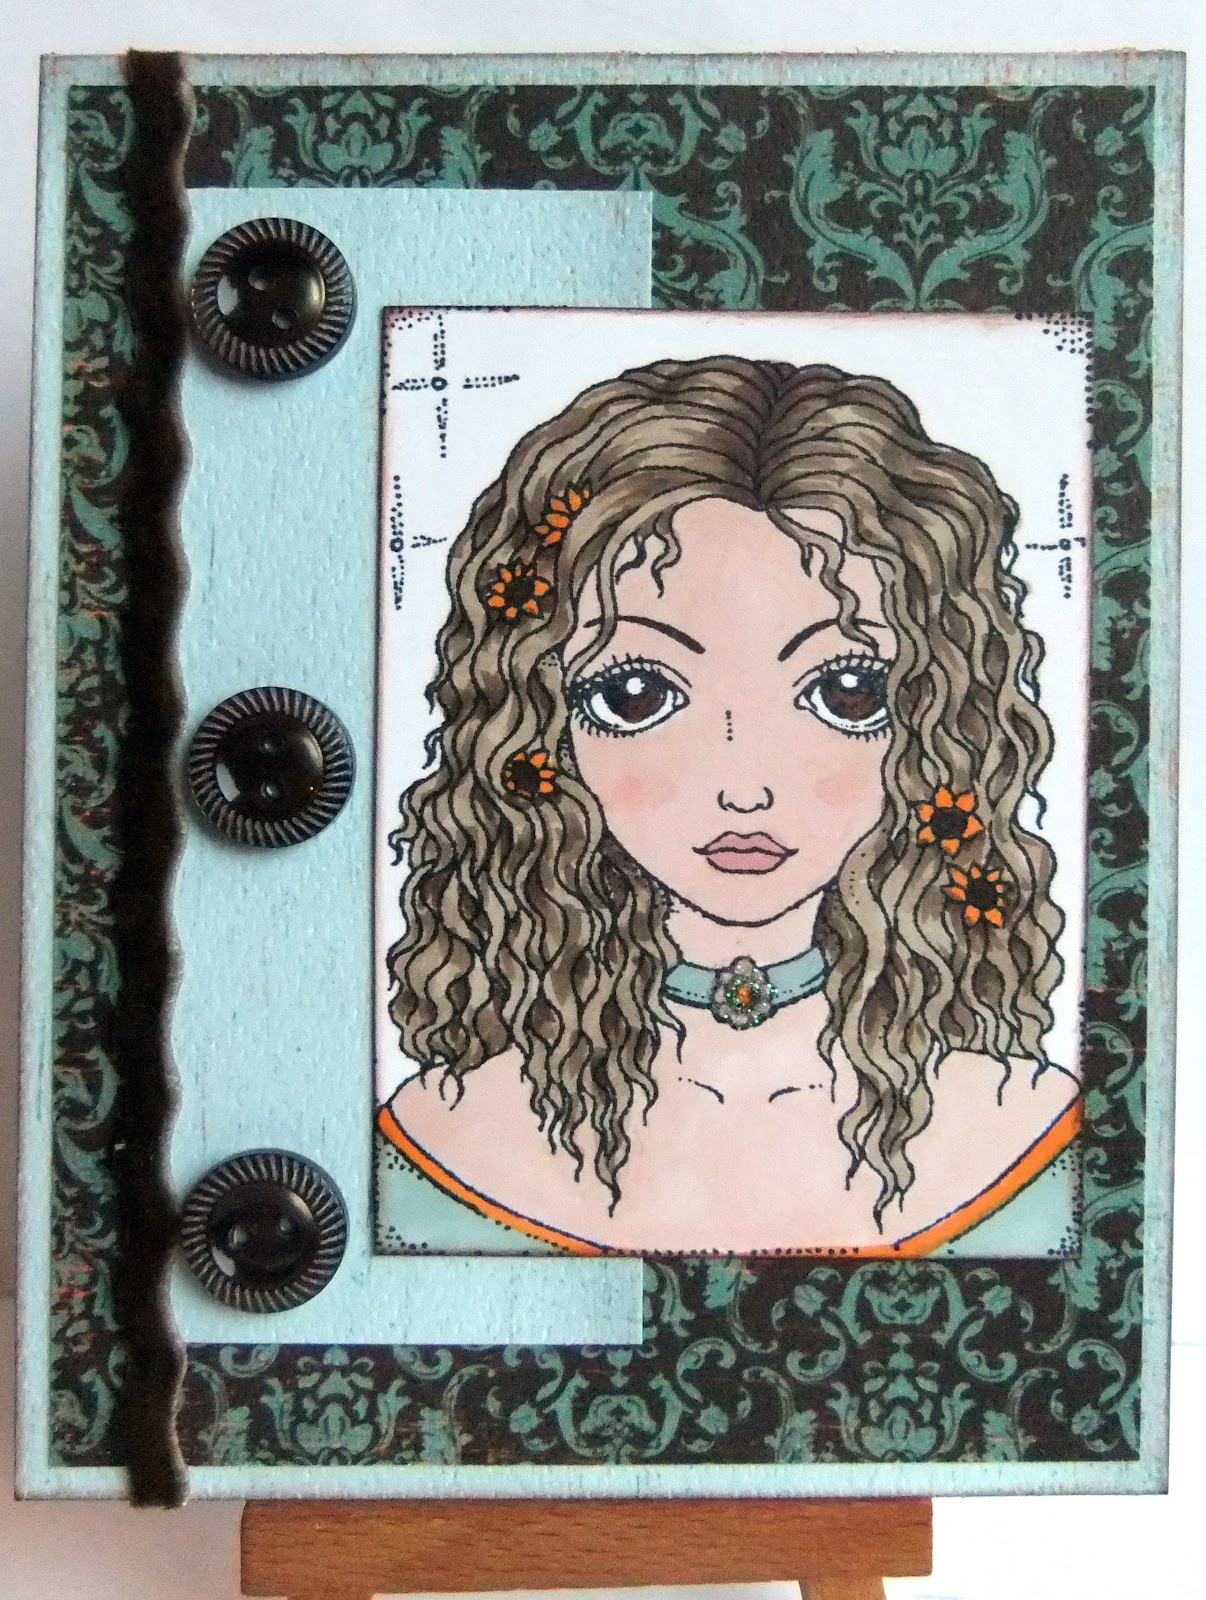
Blue Eye Fairy

This image is called Blue Eye Fairy and is drawn by ching chou kuik for Sweet Pea Stamps.

As you can see, I gave her brown eyes today (because I am a rebel like that).  The thing I love very most about this image is the eyes.  They are all soft and loving, kind of like a puppy dog.  I paired her up with paper from the Authentique  Gathering collection.  The damask background gives her a regal feel and the velvet ric rak just adds to that.

Blue Eye Fairy can be purchased by herself, or even better, on a full sheet with three of her beautiful friends!  She is on Plate #28.

Get Inky!
Alex

Wednesday, August 24, 2011

Sweet Pea Classics Part II

Hi everyone and welcome to my second part of the Sweet Pea Classics. Hope you enjoyed the first part. Today I want to show you two more cards I made with two of my all time favourite images. Both of them are from the amazing artist ching-chou kuik who's whole collection you can find HERE.

The first card is made with 'Purple Woods'. I coloured this beautiful image with my Distress Inks on heavy 300 gram watercolour papers. The designer papers I used are some left overs from other cards. I want to use them as well as they are too nice to be left in the drawer.


The second card is made with 'Red Hearts'. I coloured this fabulous image with my Distress Inks as well on heavy aquarell paper. I decided to colour the hearts yellow this time. The papers are left overs as well.


Well, I think there are quite some more fabulous images who could be called Classics. And perhaps I will continue this series later. So keep on visiting us here so you won't miss it.

Have a magical day!
Hugs, Karina

Wednesday, June 15, 2011

Treat me like a Princess

Here's one of the stunning new images from artist ching-chou kiuk of Sweet Pea Stamps. Isn't she a beauty? She is called Magic Spread and she comes on plate #143. I colored her using Copic markers and added a wonderful vertical stamp "Princess" from Plate #48. I love using a monotone theme on a card so I chose pinks for this one. She's so light and elegant so she needed a color that could be both light and bright at the same time. I think yellow would also be a wonderful color for her.

Shouldn't we all be treated like a Princess today?

Here's an extra card to share I have to share, it's a beautiful stamp called Red Hearts from Plate #28 ; I added a wonderful saying "The best and most beautiful things cannot be seen or even touched, they must be felt with the heart."
I think that saying is so perfect with this stamp. We should all open up our hearts for the best and most beautiful things in the world to come to us!

Hugs all, Holley

Wednesday, May 4, 2011

Butterfly Magical Day

Hi Folks,

I decided to play with an older ching-chou kuik fantasy image for my card. It's so hard to choose a Sweet Pea Stamp image and I find that at times I tend to forget to spread the love :-).

This is Fly Butterfly, part of Plate #21 and she is colored with copics. This time I chose the papers first - woohoo....it did help when it came to assembling my card.

The sentiment is from Plate #21. The flower is a mish-mash of scrap pieces. Leaves are grunge paper, the flower is chipboard and the rose bud is satin....


I'm not sure if you can see the shimmer on the chipboard flower, but I sprayed it with Smooch. I used some glitter pens to add some sparkle to the image.


I hope you enjoyed her. She was so very therapeutic to color, and I didn't even mention any mistakes!

Don't forget to check out the Sweet Pea Stamps store..... always great specials and don't forget about sending us your Sweet Pea Stamps creations.

Monday, February 7, 2011

Red Hearts in Chocolate


I love working on Valentines! I wanted a rich, dark brown to coordinate with the neat metallic paper. I have had this paper for ages and am so happy with how it worked with this image. I also love how this image lends itself to making it larger. I just drew the lines of the skirt down to the edge of my paper! It gave the image a whole new look!

Supply List

Images
"Red Hearts" by Ching Chou Kuik for Sweet Pea Stamps

Papers
Neenah Smooth white card stock
Designer paper-unknown from my stash
Solid color card stocks-Stampin Up

Copic Markers
Skintones-yr0000, e000, yr000, e21
Hair-e13, e17, e19
Clothing-e27, e49, r37, r39, r89
Wings-y21, yg91, v01, bv02, b91
Lips-r11
Eyes-b000, b00, bg01

Misc. Supplies
Decoart Fineart Glitter (over wings)
Chalks for cheeks
Ranger Glossy Accents (to adhere glitter)
Brown ribbon-unknown manufacturer
Glittered blossom (center is colored with r89)
Smooch "gold"
Scotch ATG gun and adhesive

Wednesday, November 24, 2010

Have a Fairy Happy Birthday!

This sweet image is from Samantha Rawlings Little Sweethearts collection. She is called Little Fairy and you can find her on Plate #58. I just love this sweet girl. This image I colored with different shades of watercolor pencils and then used a blender pen to mix the colors together.
I used a set of Nestabilities to cut out the saying from plate#34. This fairy saying used on this card is on a wonderful sheet of images from Elaine Cox. I love to use the Fairy Happy Birthday saying all the time! I added a cute mix of red/black embellishments to finish the card along with dusting the edges of the card with some Colorbox Chalk ink in black.
Bonus Card, I saw this stamp on sale on the Sweet Pea website and just had to show you a wonderful card with it. I just love this image from ching chou kuik called Blue Eye Fairy.

The beautiful hair of this maiden so made me fall in love with her! She is on sale for 50% off!! WOW. Only $2.64. Take a peek at all the sale items by clicking HERE, this image is many pages into the sale section.

Have a stampin' great day!
Holley

Tuesday, November 2, 2010

Two Beauties for a Couple New Initiates!


A friend of mine's daughter is getting initiated soon and asked me to help her out with a couple cards! One is for her daughter and the other her big sis. I am really pleased with how they turned out. Their sorority colors are red and hunter green....so needless to say I wasn't really inspired to work with those. They attend Kansas State and the University colors are purple and silver. This was a much more appealing color palette for me...although I'm a University of Kansas Jayhawk fan and my wardrobe is red and blue!!!! I hope the girls like them!

Supply List
Images-Ching Chou Kuik, Sweet Pea Stamps
Top card-Fly Butterfly, Sheet 6 plate 28
Bottom card-Purple Comfort-sheet 16 plate 47

Ink
Memento, Tuxedo Black
Versamark (for bottom card's background)

Papers
Neenah Smooth white card stock
Solid purple card stock-Elegant Eggplant Stampin Up
Silver metallic card stock, Hobby Lobby poster board
Purple/white striped designer paper-unknown manufacturer

Copic Markers
Skin tones-yr000, e000, e51
Hair-y32, y21, yr31, y26
Eyes-b21, b23, b000, bg02
Clothing-v15, v17, v09

Misc. Supplies
Purple roses, Wild Orchid Crafts
EK Success Leaf punch
EK Success Lattice Chain border punch
Pine Leaf punch, Martha Stewart
EK Success Fancy Corner punch
Spellbinder/Nestability Dies-large oval and scalloped oval
Silver metal dots, Manufacturer unknown
Stickles "Crystal or Stardust"
Smooch "Silver and Black"
UTEE for embossing background on bottom card
Inkssentials/Ranger Glossy Accents (for top card's dress)
Scotch ATG gun and adhesive
Cuttlebug or Big Shot

Saturday, September 25, 2010

Cute little buttons


I haven't felt like playing with paper lately, but rather with other materials where I can use my Sweet Pea stamps.


Here I have made custom made Sweet Pea buttons. I've used nestabilities to cut out shapes in shrink plastic. I stamped with black staz on ink and set it aside to dry a while. When the ink was dry I coloured the images with oil pencils. Make sure to punch holes before you shrink the plastic. After you have shrunk them - either using a heatgun or oven - let it cool for a little while and ink the edges with a silver pen.


You can colour it to fit any piece of clothing you want and the best part: you will never have to change all the buttons because you lost one and didn't have any extra.


Stamps I have used:
pick a pumpkin plate 53
time flies, plate 38
red hearts, plate 28

Thursday, June 3, 2010

Introducing Lisa Cook!

Today we welcome Lisa Cook to the Sweet Pea Stamps design team!


A little about me.
I am a stay at home mom of two teenagers. My dear husband and I have been married 19 years. I'm so lucky to have a family that is supportive of my stamping addiction. They don't even complain that my crafting area hogs the most space in our basement.
I have been stamping for 12 years now. I love all different sorts of stamps, but tend to focus on images that need coloring. My medium of choice is Copic marker. I do enjoy colored pencils, water color pencils and painting with inks.
I have been a fan of Sweet Pea Stamps for a long time and feel so lucky to be creating for Lynette. I look forward to sharing my work with everyone and finding inspiration from those already here too!

Lisa shares her beautiful cards with us today.

ching-chou kuik's Bamboo Serenade:


ching-chou kuik's Enchanting Gold:


ching-chou kuik's Red Hearts:

Saturday, May 29, 2010

Cards of Late....

Today I would like to share some of the cards I have made with a few different plates lately, I hope you enjoy them.

This is one of my favorite images - ching chou kuik's Sunflower Angel from plate 33:


ching chou kuik's Full Moon from plate 47:


Lisa Victoria's Storytime:


ching chou kuik's Blue Eye Fairy from plate 28 :


Paris Collage from plate 19:


Tuesday, March 30, 2010

Create low profile bling!


This technique will help you create a low profile bling embellishment. I picked up a 3 ounce bottle of glitter glue for less than $3 at a major mass merchandiser, this bottle will make many glitter dots! Besides using a hole punch, I had great luck creating shapes with punches, also. I recommend creating your shapes within a day of drying out the glue as it tends to become wavy with age and harder to punch.
   
Supplies:

Other elements
    Glitter Glue (Sulyn Industries)
    Crop-A-Dile (We-R-Memory Keepers)
    Sticker Maker (Xyron)
    Wax Paper (Reynolds)

Directions:
Working on wax paper, squeeze the glitter glue into a 1" strip about 2" long, a paper clip can be used to smooth out and ridges.


Allow to dry about 24 hours.
Remove the dried glitter strip from the paper and run through the sticker maker, smooth side down.


Using the hole punch, cut holes from the strip and catch them as they are created.


Peel the backing and attach to your projects as needed.

I also tried several other ways of creating my bling. The first was Stickles by Ranger - this was not a good idea, it crumbles too easily, which is too bad since there are so many wonderful colors available. The next attempt was using Diamond Glaze by Judikins with glitter, which actually turned out nicer than the glitter glue, for this method follow the instructions above, but immediately after creating the ribbon of glue, immediately cover with a generous coating of glitter before allowing to dry.


I hope you will find these tips to be helpful in your creations and as always enjoy sharing!!

Tuesday, March 16, 2010

Fly Butterfly


This is the image named Fly Butterfly from the ching-chou kuik's Fantasy Art Collection. The sentiment is from Plate #25. I really love the sentiments that are on each of these different plates and how well the work with all of the different images or even just on their own.

I hope you are all sending in your creations for our customer challenges. I know that customer week is my FAVORITE one each month. I love seeing what you all create with the Sweet Pea Stamps!

Saturday, March 13, 2010

Customer Gallery Submission: SarahK

Today we are featuring artwork created by the current Smeared and Smudged design team:

SarahK shares her creations using images from ching chou kuiks Fantasy Art Collection.

Love is Gone:
 

Fairy of the Night:
 

Black Rose Fairy:


Shining On:
 

Dance of the Butterfly:
 

Wednesday, March 10, 2010

Customer Gallery Submission: Laura Cooper

Laura Cooper shares several wonderful creations today.

Winter Watcher:

Love is Gone:

Red Hearts:
 

 Purple Woods:
  

Poppy Love: