ching chou's Dream of Iris and Dream of Dahlia is now available
Sunday, June 30, 2013
Joanne Schempp's Jenny
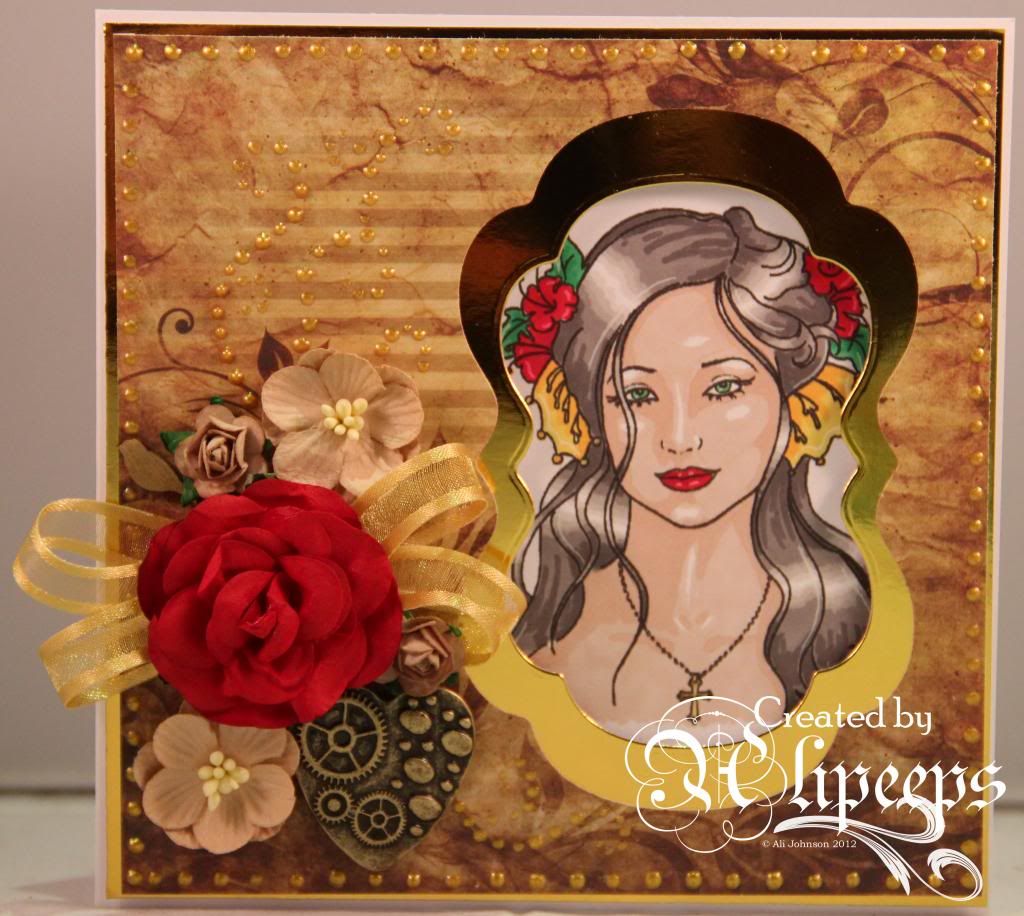
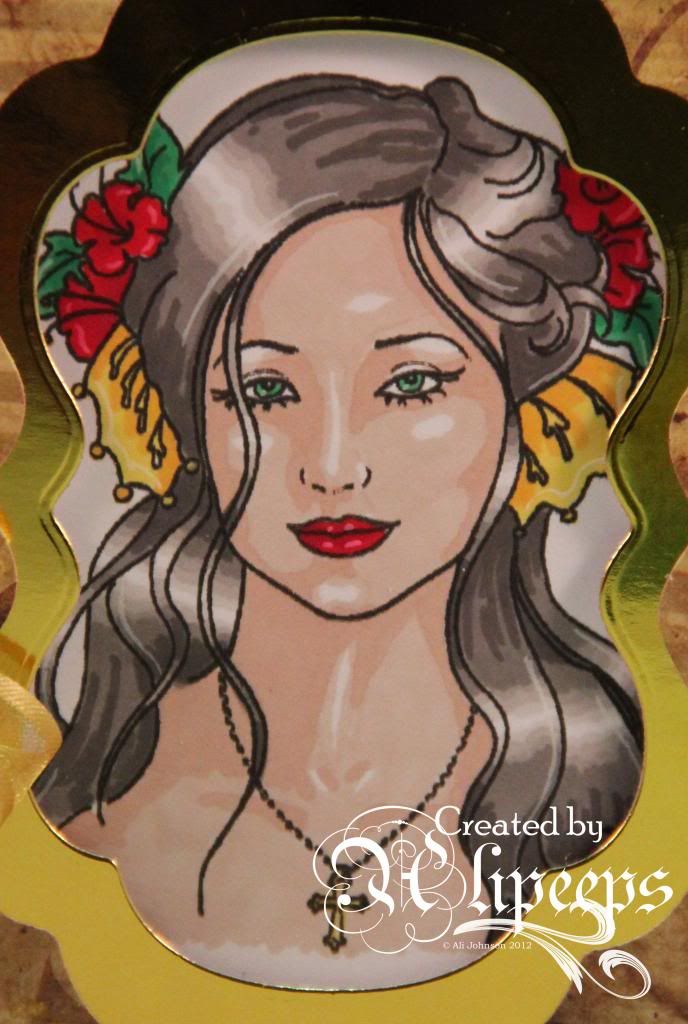
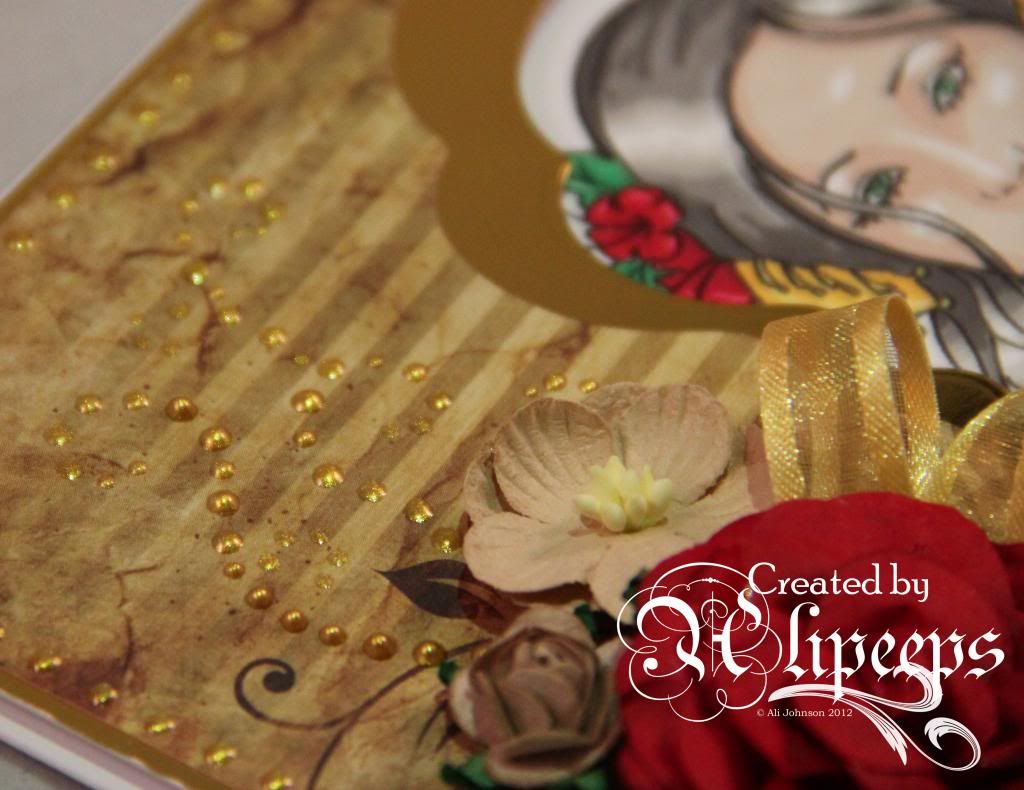
This week I've made a bit of a steampunky/baroque card, with lots of rich gold embellishment, using Joanne Schempp's beautiful Jenny stamp (available as a digi stamp):
I coloured the image with my Promarkers...
...and the idea for this card pretty much came about from seeing a couple of cards on Pinterest where a shape had been punched/die-cut out of the card front with an image layered behind... and I thought, "Oooh why not try that with a Sweet Pea Stamps image?"
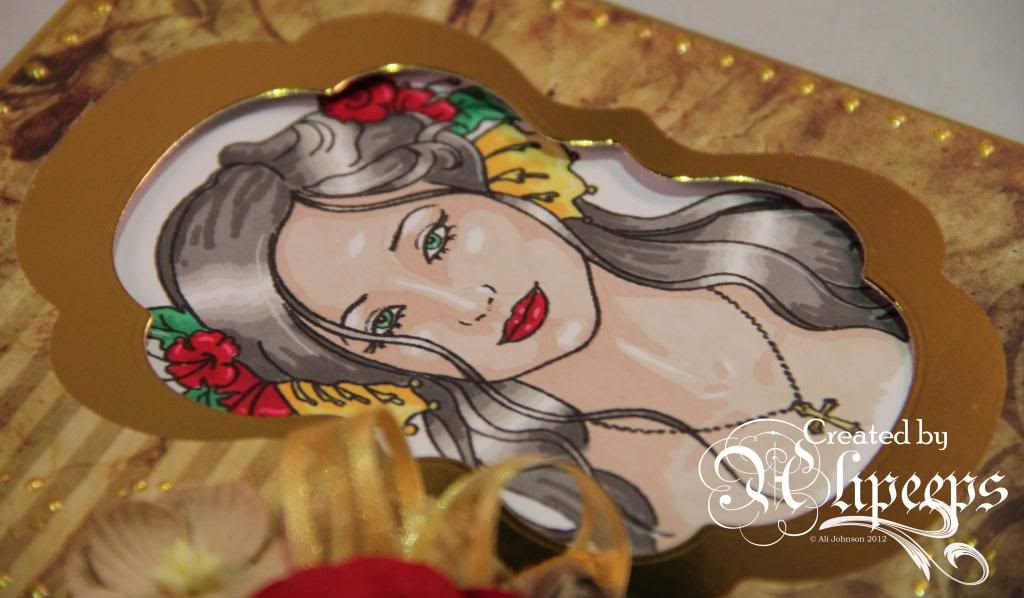
I used Nestabilities dies to cut an aperture into gold mirri card and a larger aperture into some lovely steampunky paper. I attached my image to the card front and then attached the layered mirri card and paper using foam tape to give the frame/aperture a bit of height from the image behind.
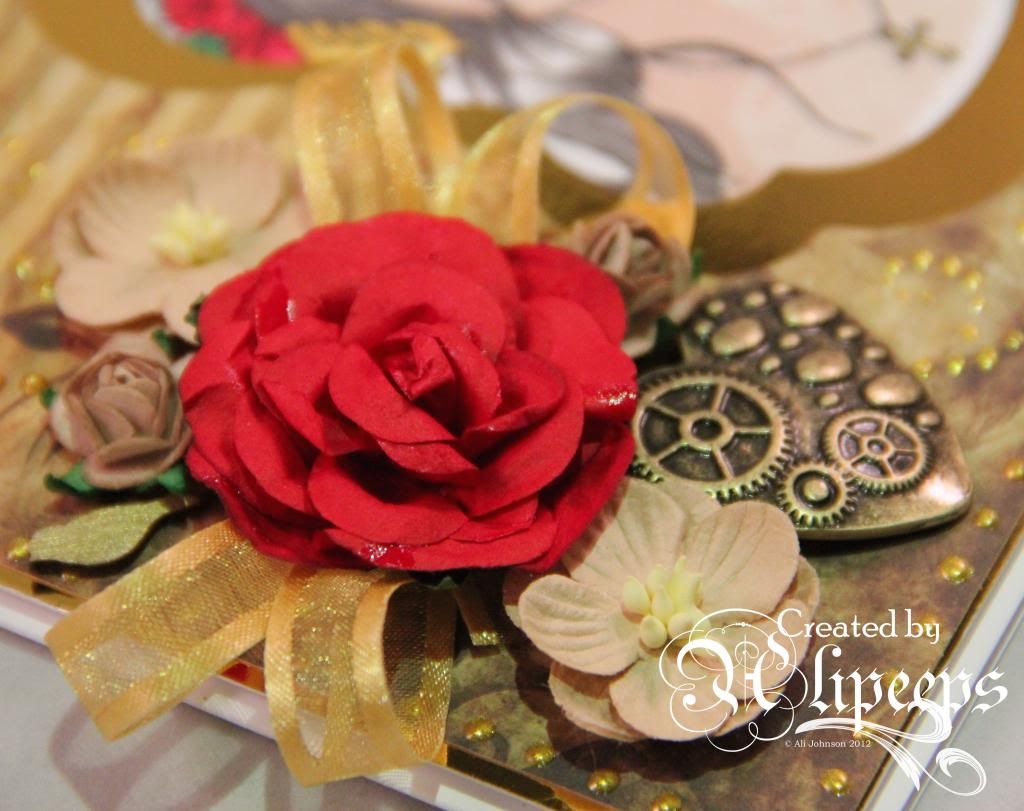
I added a cluster of flowers, ribbon and embellies (including an awesome brass-coloured steampunky heart shape)...
..and finished things off by dotting a border and some flourishes using a gold coloured Perlen Pen.
Saturday, June 29, 2013
Love Birds
Isn't this the cutest image? I saw it at Sweet Pea Stamps and just had to have it. It is drawn by Karen Middleton and is called Love Birds. After coloring and cutting out I paired it with some paper from the Carta Bella So Noted collection and the fabulous Breezy Branches corner die from SCACD.
Get Inky!
Alex
Bird of Paradise
Aletha here with one of ching chou kuik’s new digis, Bird of Paradise. Check out the other new images that she has. If you are a rubber
lover, you will need to get the set of four, plate no. 248, for your
collection. If you like one stamp you will love the rest, one is not enough.
I think that I may have gone a little overboard on the
roses, but I needed something that would make the colors pop that I used in the
image. It worked.
Copics used:
Skin: E000, E11, E13, BV000
Hair: Y11, Y21, E97, E99
Bird of Paradise:
G40, G82, G94, G99
BV01, BV02, BV04, BV08
R02, R05, R08, Y32, Y38
YR12, YR14, YR18
Background: W00, W0, W1, W23, BV02, Y32, blender
My cardstock is from Stampin’ Up! Ribbon and roses are from
my stash. I did add a touch of Crystal Stickles. One of my favorite dies,
Cheery Lynn Designs mini flourish, added the final touch of brown.
You still have seven days to enter our challenge at OneSweet Challenge. The theme is use buttons and ribbon. I hope we see you there.
I hope you like it. Thanks for stopping by.
Aletha Jane
SPS Design Team
Friday, June 28, 2013
Welcome----
Welcome Susan Salyer to the Sweet Pea Design Team! We look forward to getting to know you and see your awesome artwork.
You can view Susan's nlog here:
Meet Jenny
Here's a beautiful image from Sweet Pea stamps artist Joanne Schempp called Jenny. She's a lovely woman. I colored her here in Copic Markers and used some shimmery flocked paper from Heidi Grace. I added some gorgeous lace from Istanbul and I added some red jewels in the center of the flowers. and then found a beautiful green butterfly to give the card a striking contrast.
The sentiment here "Butterfly Kisses" comes from Sweet Pea stamps as a rubber stamp.
Here's a closeup of Jenny, currently available as a digi stamp.
Be sure and check out the other wonderful digi-stamps as well as Joanne Schempp's other amazing designs. She makes the most striking mermaids and beautiful maidens.
Cheers, Holley
Thursday, June 27, 2013
Ching Chou Kuik's The Moth
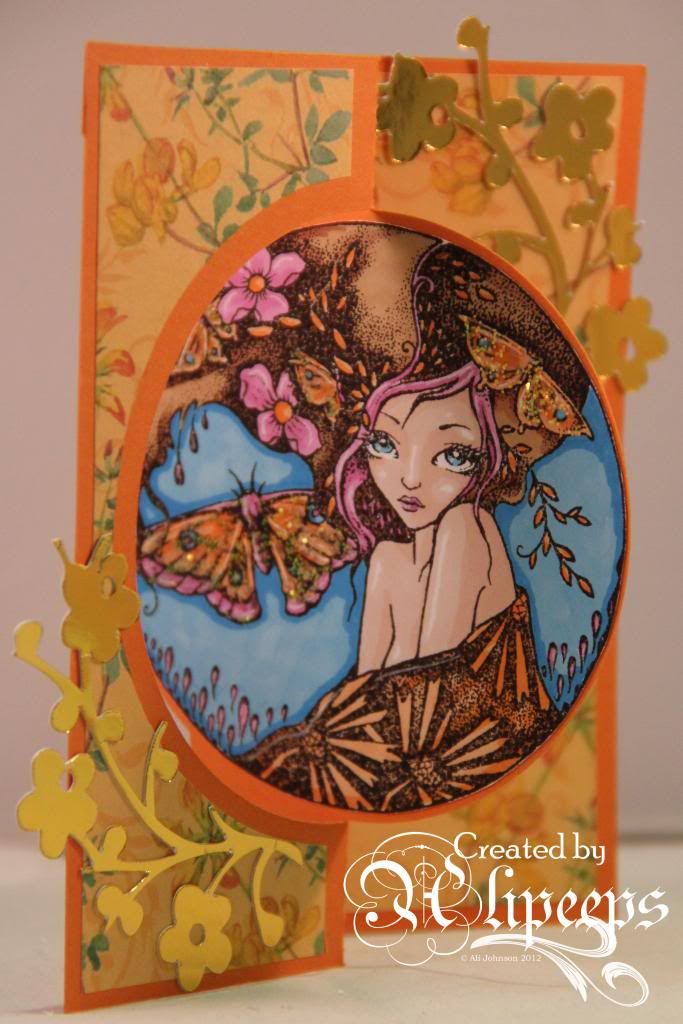
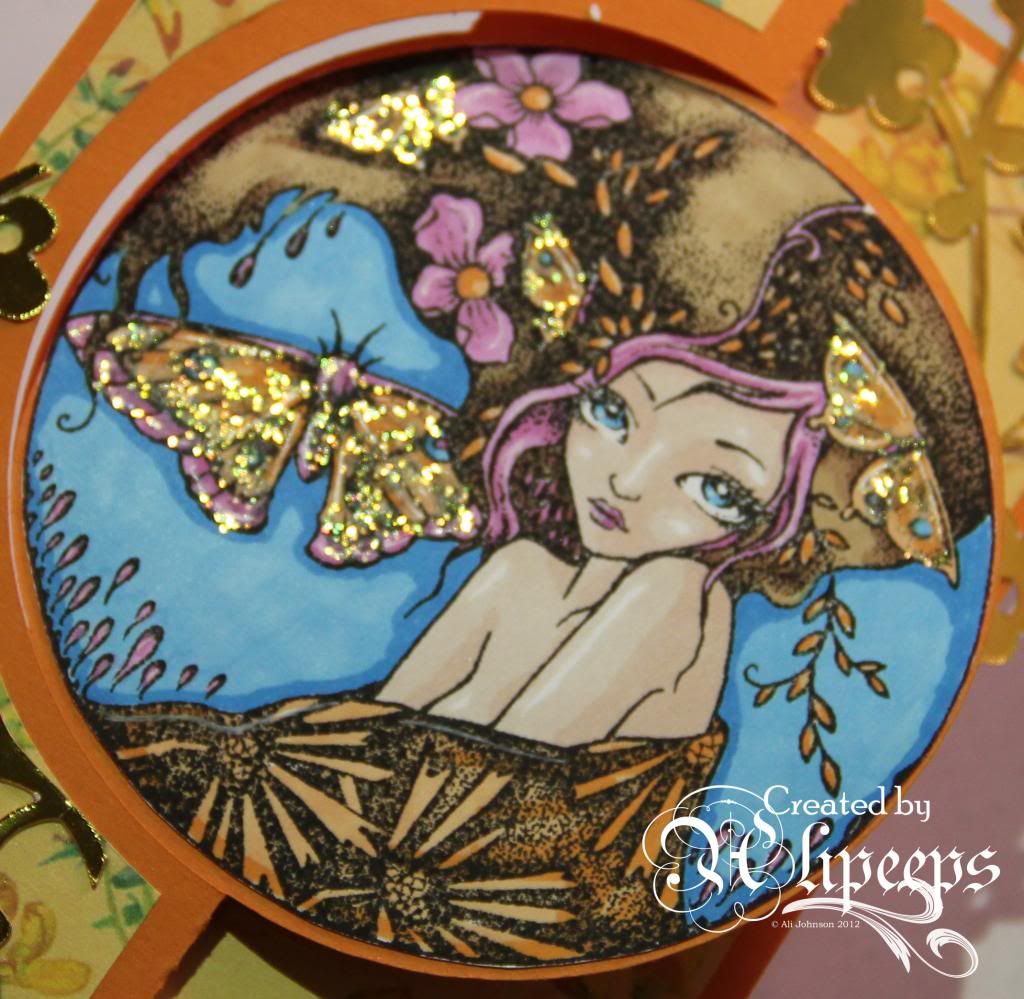
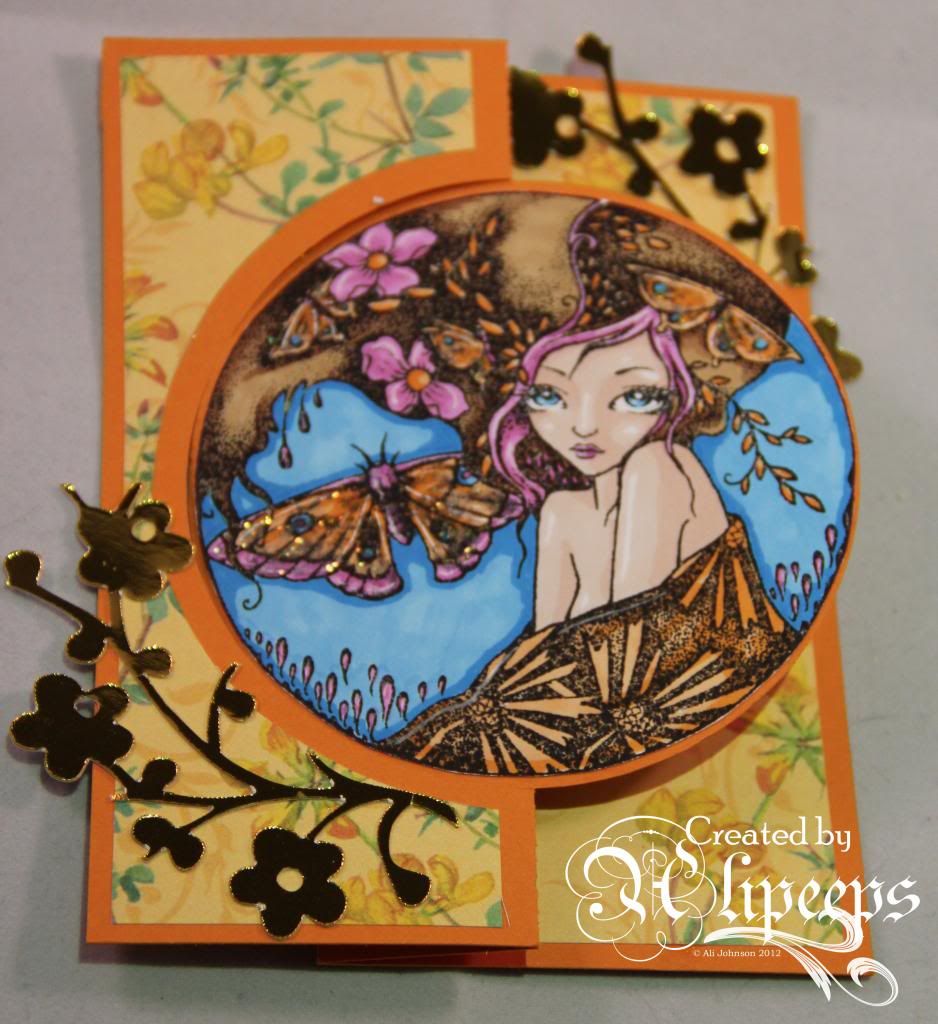
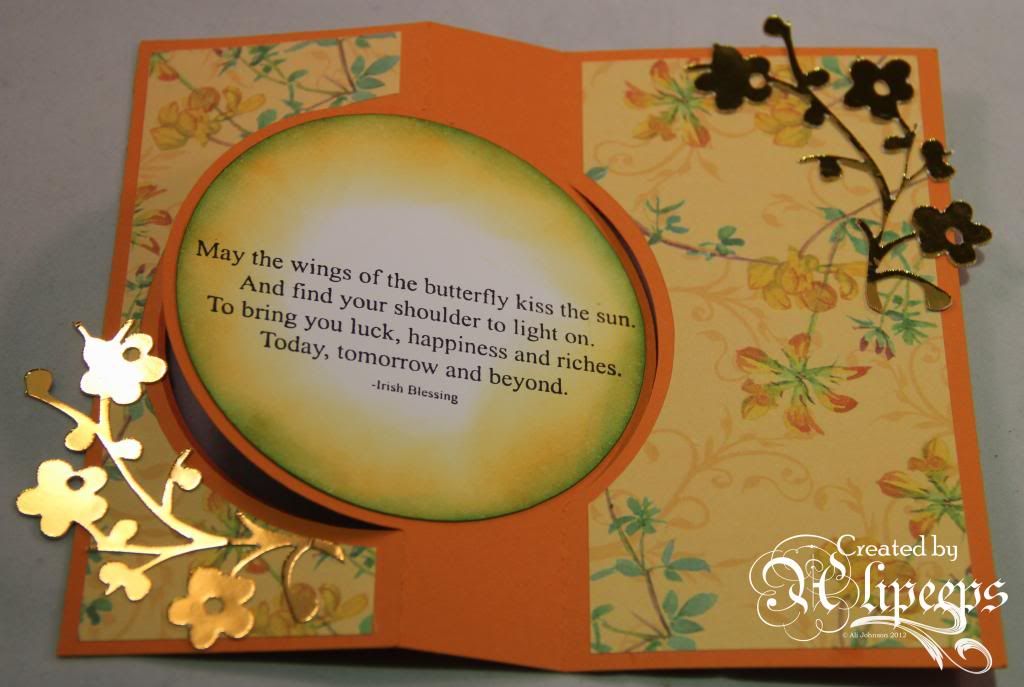
Ching Chou Kuik's The Moth is one of several gorgeous rubber stamps by this amazing artist that each come on a single sheet with a lovely sentiment stamp. As soon as I saw this stamp I had an idea for a card where the circular image could spin around....
...and have the sentiment on the reverse:
I cut the card shape out from coloured card using my Cameo and decorated it with some pretty paper and added some flower flourishes cut from gold mirri card using the Cameo. I stamped the sentiment onto a circle of white card and blended Spiced Marmalade and then Salty Blue Distress Inks around the edges and I coloured the image with my Promarkers and added some Stickles over the moths:
I have to say though, as pleased as I am with how this card came out, it's a bear to photograph properly! :lol: Here's what it looks like closed up:
And here's the reverse side:
You can buy this stamp - which includes the image and the sentiment - in red rubber format only from the Sweet Pea Stamps store.
Wednesday, June 26, 2013
Sympathy Card
Hello everyone. For today i have very simple card for Sweet Pea Stamps. Image here from Plate #248 by Ching Chou Kuik. As always you can have Rubber stamp or Digital image.
I colored image with Prisma Pencils, and inked background. Sentiment here also from Sweet Pea Stamps. To make beautiful lace look around my image i used MS punches.
I used Yellow Mirror cardstock to layer with image. I hope you like it.
Hugs Nataliya
I colored image with Prisma Pencils, and inked background. Sentiment here also from Sweet Pea Stamps. To make beautiful lace look around my image i used MS punches.
I used Yellow Mirror cardstock to layer with image. I hope you like it.
Hugs Nataliya
Tuesday, June 25, 2013
CAS Happy Birthday
Hello Sweet Pea Lovers!
I hope you're enjoying the Summer season!
Right now it's raining here in Northern Norway, but the kids are happy: They've just started their 8 weeks long Summer vacation.
There's lots of things going on in my life at the moment, and I'm actually not into scrapping right now. But I just bought some Alcohol Inks by Tim Holtz, and I just had to try them out! I was so inspired by a card in a Norwegian scrap magazine named Ett Trykk, and I've lifted it, using the Happy Birthday stamp from Sweet Pea Stamps. You can find the stamp on Plate #2. I've made a CAS card - totally unlike me, but in fact, I loved making this card! And it was so much fun playing with Alcohol Inks, I'll definitly use them on more cards!!
Enjoy the Summer days!
Lots of love from Randi WS
Monday, June 24, 2013
Little Green
Hello everony, great to see you here! Today I have an inspiration for you I made with one of the gorgeous images from ching-chou kuik's. This one is 'Little Green'. Love this with the sweet froggy!! She is available as single stamp, on Plate # 243 together with three other fabulous images, and as Digi too.
Below you can see a close up of the image. I coloured this beauty with Copics and added lots of Fran'tage around the corners. Love this stuff.
Thank you so much for looking. Hope I was able to give you some inspiration.
Have a wonderful day now!
Hugs, Karina
Sunday, June 23, 2013
Conie Fong's Abbie
Well hey everyone. Shanna here today. I have a sweet little card to share. Isn't she just a doll? I love her and how well she went with the papers. Her name is Abbie and she was created by Conie Fong.
I tried to go shabby chic with the card but I believe I got carried away with trying to make the shadow parts of the tutu darker. I really had fun trying to color the balloons to be a little see through.
Items Used:
Prima papers and flower
Pearls
Ribbon
Lace
Copics
Copic Paper
Cheesecloth
Oval Spellbinder die
Make sure you keep coming back for more Sweet Pea Inspiration.
Karen Middleton Moon Heart
For my Sweet Pea Stamps Design Team card this week I thought I would use the "Moon Heart" by Karen Middleton. Isn't he such a cute cat? The image is available as a rubber stamp and is also available as a digital image. I thought I'd make this card for my husband for our 22nd wedding anniversary on 20 July 2013. I have coloured the image in with my Promarkers and Flexmarkers and highlighted areas with my Sakura Stardust clear pen.
The backing papers are from the Glitz paper pad called "Cashmere Dame" which I won in some blog candy recently. The card has been finished off with various elements including my Tim Holtz clock die, raffia ribbon, organza satin edged ribbon, die-cut flowers inked with Tim Holtz's Aged Mahogany distress ink, brads, gems, faux stitching, Marianne Designs die-cut hearts and some sentiments from a Debbi Moore CD.
Saturday, June 22, 2013
No Coloring Necessary!
Today I would like to share a quick and easy card. I love the wild look of the Concetta Kilmer Happy Himalayan and thought it would be perfect for the Warhol technique.
Although you can get by without adding any color to the images, I couldn't resist a touch of black, especially for the eyes.
Thanks for stopping by! Don't forget to head over to the Sweet Pea Stamps store where there are some fantastic images on sale.
Although you can get by without adding any color to the images, I couldn't resist a touch of black, especially for the eyes.
Thanks for stopping by! Don't forget to head over to the Sweet Pea Stamps store where there are some fantastic images on sale.
Friday, June 21, 2013
Olivia and Peter at Sweet Peas
Aletha here with a little piece of art using one of my
favorite stamps from one of my favorite artists at Sweet Pea Stamps.
Meet Olivia and Peter from Norma Burnell’s Fairy Tangles ArtCollection. I found Ms. Burnell’s art while I was surfing the web for Zentangle
patterns. I fell in love with her style and I was hoping that a rubber stamp
company would start the ball rolling on manufacturing the stamps. When I found
out that it was Sweet Pea, I jumped for joy.
I stamped Olivia and Peter with Memento ink on Cryogen cardstock
for coloring with my Copics. After die cutting her with a die from Spellbinder’s
A2 Curved Matting Basics A I distressed with Frayed Burlap.
The designer paper was a scrap. The other dies that I used
were Spellbinder’s Bitty Blossoms and SCACD’s Alice’s Clock. This was
distressed with white Viva Décor 3-D paint.
Don’t forget about our challenge at One Sweet Challenge. The
theme is to use buttons and ribbons as embellishments. You can use any stamp
you want, rubber or digi, but for the “larger” prize you must use an SPS image.
Thanks for stopping by. If you have any questions, please
contact me.
Aletha Jane
SPS Design Team
The Candy Striper
Here's a brand new image from Sweet Pea stamps artist Concetta Kilmer called The Candy Striper. I just LOVE this image. She's got some great sassiness. Just up my alley. I decided to color her up in pink and black and create a card to match.
Here's a close up of the image itself. Currently this image is being sold as a digi-stamp.
I layered the image on top of some gorgeous embossed paper using a folder from Cuttlebug and then took a Souffle pen and added white in various areas. I also added some super cute sparkly buttons from American Traditionals.
Hope you will check out the newest Digi-Stamp images and create a card today!
Cheers, Holley
Thursday, June 20, 2013
Ching Chou Kuik Face Number 4
Good morning and great day to everyone.
Shanna here and I thought I would start you off with a little inspiration today! I am using a Sweet Pea Stamp created by Ching Chou Kuik.
For this delightful card I used Ching Chou Kuik's Face 4 (plate 43) stamp.
Some Authentique papers, cheescloth, ribbon, copics, copic paper, and some Wild Orchid Craft flowers.
Hope I inspired you a little today to get out your Sweet Pea Stamps and color.
Forget Me Not
Rebecca Sinz has a series of images named for different flowers. This one is titled Forget Me Not and is part of Plate #242 or you can purchase it as a single in both rubber and digi format. Once she was colored up, I paired her with some paper from the Basic Grey Wisteria collection and the Uncaged Bird die cut.
Get Inky!!!
Alex
Wednesday, June 19, 2013
Kate has a new YouTube video
Kate has a new YouTube video showing you how to create a soft and simple dotted background using Copic markers and Distress ink. This soft and slightly shabby chic background is perfect for cards and is easy to create.
Kate has used this technique to create a background on her card designed to focus attention on the gorgeous main image, which is Teenie Tiny by Elizabeth Bell, available only from Sweet Pea Stamps as as a rubber stamp.
 |
| ©Elisabeth Bell's Twinkle Toes Series 'Teeny Tiny' |
Check out the video below to see how Kate created this soft spotty background.


